
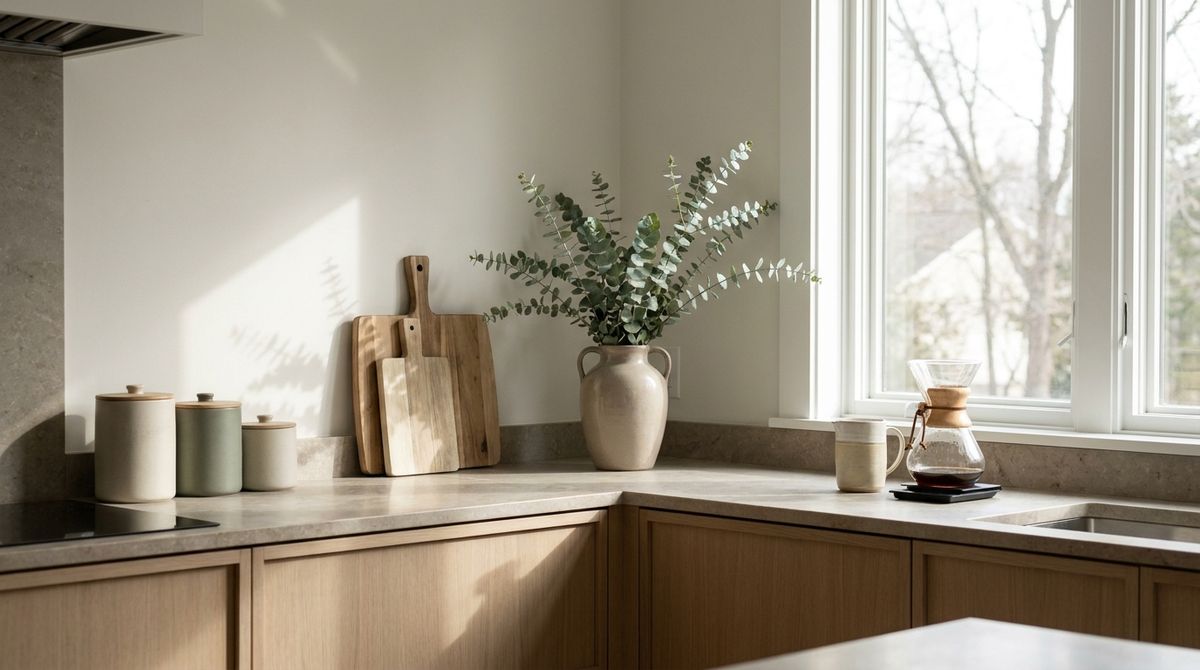
Clear counters do more for a kitchen than any renovation. They make the room read bigger, cook better, and clean faster. Yet most counters slowly fill with appliances, mail, and gadgets nobody moved back. Decluttering surfaces is one of the most requested organizing jobs professional organizers see, and counters top the list (The Spruce, 2025). After clearing dozens of apartment counters, here’s the method we actually use: seven steps, real prices from $8 to about $120, and nothing that ruins the way you cook.
Key Takeaways
- Aim to keep 80% of counter space empty: clear surfaces are what make a kitchen feel open and calm
- Decide by frequency, not habit: if you use it less than daily, it belongs in a cabinet, not on the counter
- One tray beats scattered items: corralling oils and salt on a single tray reads as intentional, not cluttered
- Go vertical to free the counter: wall rails, magnetic strips, and under-cabinet hooks move clutter off the surface
- Style with three anchors: a plant, a cutting board, and a crock give a counter warmth without crowding it
- Renters can do all of this with trays, adhesive hooks, and freestanding stations, no drilling required
1. The “Clear Counter” Rule
Start with one number: 80%. Keep at least 80% of your counter space empty and store the rest. This single rule does more for a small kitchen than any organizer, because visual clutter is what makes a room feel cramped even when it’s clean.
The reason counters fill up is drift. An appliance comes out for one recipe and never goes back. A stack of mail lands “just for now.” Multiply that over a month and the working surface disappears. We’ve watched it happen in every kitchen we’ve organized.
The fix is a nightly reset. Spend five minutes clearing everything that doesn’t live on the counter full-time. Do it once and the standard resets itself. For the broader system this fits into, see our small kitchen organization ideas.
What most guides miss: a full declutter costs $0 and beats every organizer you could buy. In our sessions, the average counter starts with six to nine items out and ends with two or three, so the first win is subtraction, not shopping. Buy trays and rails only after you know what actually stays.
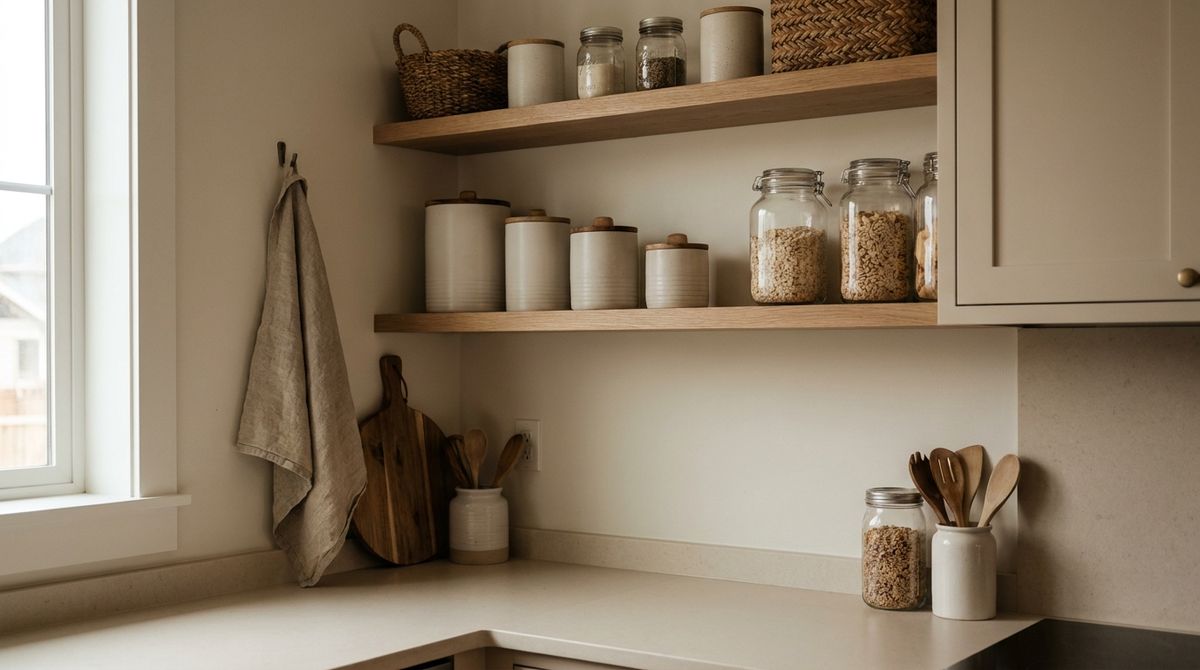
Free checklist
Spending $100 on a room? Spend it in this order.
The four phases we use, starting with the free one that changes more than any purchase.
2. Keep vs Store Away
The whole method comes down to one honest question: do you use it every single day? If yes, it earns a spot on the counter. If no, it goes in a cabinet. Frequency, not habit, decides everything, and most of us keep three or four appliances out that we touch once a week.
Here’s how we sort a counter fast:
- Keep out: the coffee maker, a knife block or crock, salt and oil if you cook daily
- Store away: the blender, stand mixer, air fryer, and toaster if it’s used a few times a week
- Relocate entirely: single-use gadgets, backup small appliances, anything with a duplicate
Freeing that cabinet space usually means adding a riser or two inside, which we cover in kitchen cabinet organization. The trade is worth it: a stored appliance costs you ten seconds of lifting and buys back a permanent block of counter.
What most guides miss: the 80/20 keep-vs-store split still works for the one machine you use daily, thanks to an appliance garage. That’s a corner cabinet with a roll-up or lift door that hides a coffee maker or toaster while it stays plugged in and ready. Retrofitting one runs about $150 to $300; a $30 tiered shelf inside a normal cabinet does most of the job.
3. Corral Daily Items on a Tray
The items that genuinely earn counter space still look like clutter when they’re scattered. The trick is a tray. Group your oils, salt cellar, pepper grinder, and dish soap on one small tray, and suddenly they read as a single intentional object instead of six random bottles.
A simple wood or marble tray runs $12-$25 at Target or IKEA. The Container Store sells slim acrylic ones around $15 that wipe clean. In our own kitchen, moving the sink caddy and cooking oils onto one tray was the change that made the counter finally look styled instead of stocked.
- Keep the tray small so it can’t become a catch-all
- Group by zone: cooking items near the stove, dish items near the sink
- Wipe the tray, not ten separate bottles, when you clean
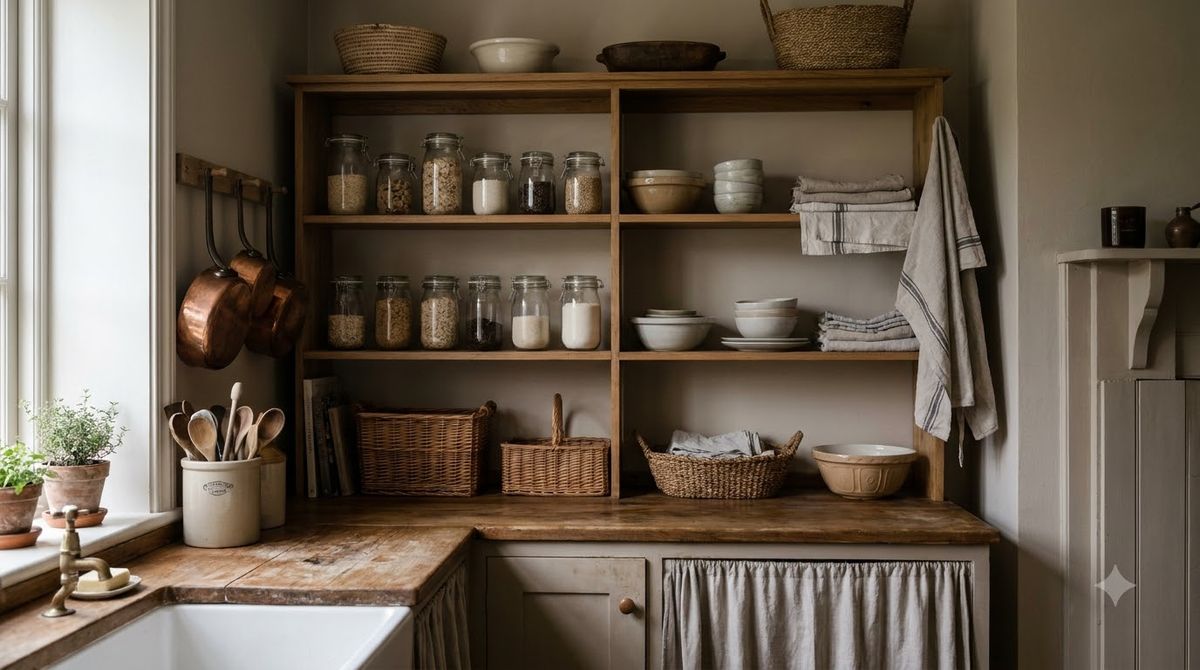
4. Vertical Storage to Free Counters
When the counter is still crowded, stop storing on it and start storing above it. Walls, backsplashes, and the underside of upper cabinets are the most underused space in any kitchen. Moving even two items up frees a real block of surface.
- Magnetic knife strip ($15-$25): retires the bulky knife block and frees a full counter corner
- Rail-and-hook system ($20-$40): hangs utensils and mugs off the backsplash
- Under-cabinet mug or paper-towel holder ($10-$18): lifts everyday items into dead space
- Floating shelf ($15-$30): holds spices or a small plant off the counter
What most guides miss: move the three bulkiest offenders off the counter first, because they eat the most square inches per item. Those are the knife block, the paper-towel roll, and the dish rack. A magnetic strip, an under-cabinet holder, and a fold-flat rack clear more surface than relocating ten small gadgets ever will.
Renters, most of these mount with adhesive strips or tension, no drill needed, which we detail in the renter kitchen organization no-drill guide. For more surface-freeing tricks, our kitchen storage hacks roundup is full of them.
5. Styling With a Plant, Board, or Crock
A fully empty counter can feel sterile, so styling is the last 20%. The goal isn’t decoration for its own sake; it’s warmth with function. Three anchors do the job: a plant, a cutting board, and a crock. Grouping objects in odd numbers is a common styling rule that keeps the arrangement from looking staged.
Lean a wood cutting board against the backsplash for height and texture. Add a ceramic crock ($15-$30) that actually holds your spatulas, so the styling earns its keep. Finish with one low-maintenance plant, a pothos or a small herb, in a $10 pot. That’s it. Three objects, one working surface, a counter that looks composed instead of bare.
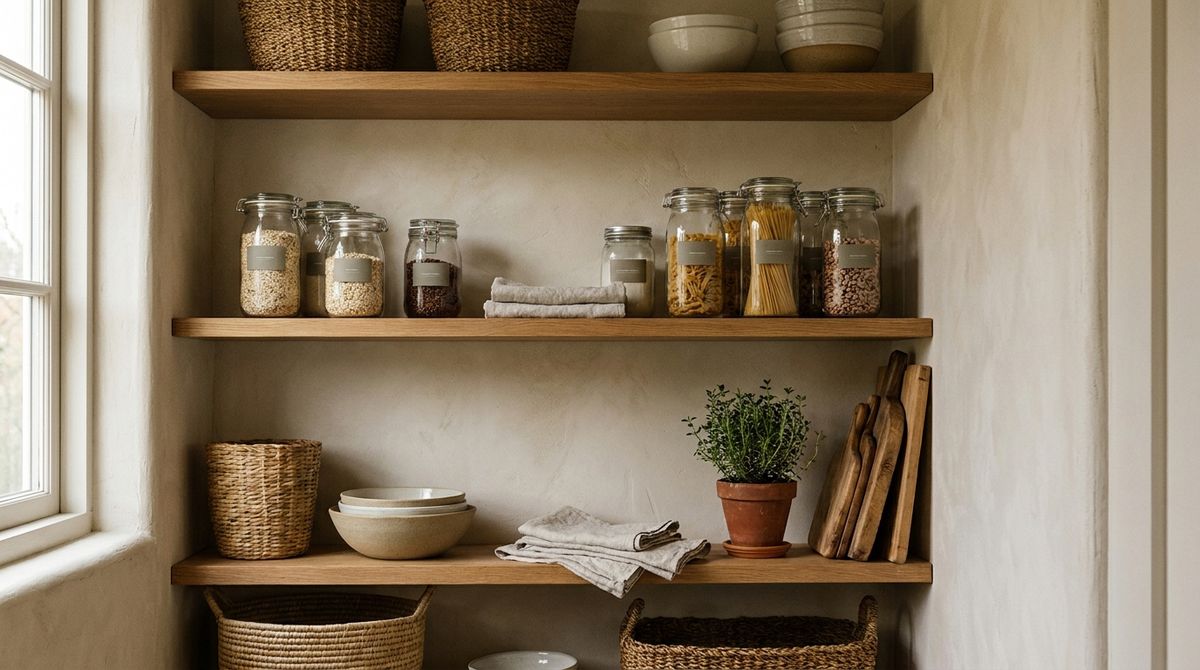
6. Build a Coffee or Appliance Station
If one appliance truly earns permanent counter space, give it a defined station instead of letting it float. A coffee station is the classic: group the machine, mugs, beans, and a small spoon crock on one tray or a corner section. Contained, it reads as intentional; sprawling, it reads as mess.
For appliances you use often but not daily, a slim rolling cart ($30-$60) works as a movable station that tucks away between uses. Keep filters, pods, or accessories in the cart’s lower shelf so the counter stays clear. The same decant-and-zone logic we use for food in pantry organization ideas applies here: everything for one task lives in one place.
7. Best Counter Organizers (Top Picks)
If you want a ready-to-buy shortlist, these deliver the most cleared counter per dollar. Our full tested roundup with specific brands and photos lives in best kitchen organizers 2026.
- Small styling tray: corrals daily bottles into one object, best first buy
- Ceramic utensil crock: styling that stores, frees a drawer
- Magnetic knife strip: retires the block, frees a full corner
- Under-cabinet paper-towel holder: lifts a bulky roll off the counter
- Slim rolling cart: a movable appliance station for tight kitchens
To keep the tools you store off the counter tidy inside their new home, pair these with the systems in our kitchen drawer organization guide.
Frequently Asked Questions
How do I keep my kitchen counters clear long-term?
Follow the 80% rule and do a five-minute nightly reset. Give every counter item a real home in a cabinet or drawer, and store any appliance you use less than daily. Clear surfaces stay clear when nothing is allowed to drift back and pile up.
What should stay on the kitchen counter?
Only what you use every day: usually the coffee maker, a knife crock, and a small tray with oil and salt near the stove. Everything else, including the blender, mixer, and air fryer, belongs in a cabinet until you reach for it.
How do I make my counters look nice but not cluttered?
Style with three anchors grouped together: a plant, a leaning cutting board, and a crock that actually holds utensils. Odd-numbered groupings read as intentional. Keep the rest of the surface empty so the styled corner stands out instead of competing.
Can renters organize counters without drilling?
Yes. Trays, freestanding crocks, adhesive under-cabinet holders, and rolling carts handle almost everything. Magnetic strips and tension-mounted rails free counter space with zero holes. See our renter kitchen organization no-drill guide for a full damage-free setup.
Where should appliances go when they come off the counter?
Store them by frequency. Weekly appliances go in a lower cabinet on a $30 tiered riser so they stay easy to lift out. A daily machine you want hidden can live in an appliance garage, plugged in behind a roll-up door. Duplicates and single-use gadgets move out of the kitchen entirely.