
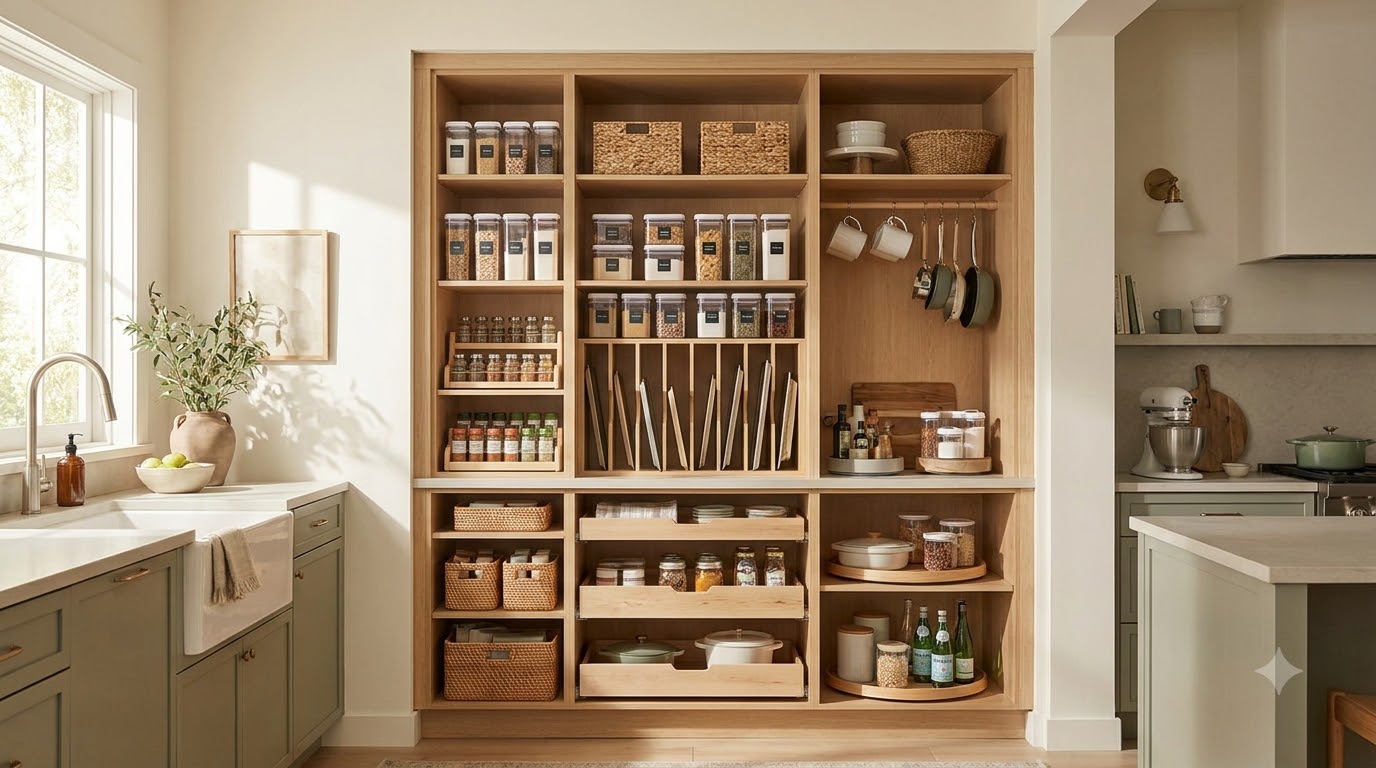
Good kitchen cabinet organization isn’t about buying more bins. It’s about matching the right system to each cabinet’s job, then keeping it that way. Clutter reduction and smarter storage rank among the top kitchen priorities heading into 2026 (National Kitchen & Bath Association, 2025). After organizing dozens of apartment and starter-home kitchens, we’ve found the same eight systems solve almost every cabinet problem. Below they’re laid out in the order you should tackle them, with real prices from $8 to about $60 and named picks from IKEA, Target, and The Container Store.
Key Takeaways
- Empty and group first: every lasting system starts with sorting by category, not shopping for containers
- Vertical air is wasted space: shelf risers and stackable shelves nearly double a cabinet for $12-$18
- Corner cabinets need lazy Susans: a $10-$25 turntable makes the deepest, darkest cabinet usable
- Cabinet doors are free storage: door-mounted racks add a whole extra shelf for $15-$30
- Pull-outs beat deep-cabinet digging: sliding organizers ($25-$60) bring back items you forgot you owned
- Labels keep it alive: a $10 label maker turns a one-time cleanup into a system the whole household follows
1. Empty and Group by Category
Skip this step and every organizer you buy just relocates the mess. Start by pulling one cabinet completely empty, wiping the shelf, then sorting the contents into groups: baking, everyday dishes, food storage, glassware. Grouping by category is the foundation of a good kitchen cabinet organization plan.
Once everything’s grouped, you’ll see your real inventory. Most kitchens hold three of some things and none of others. Be ruthless here.
- Toss anything chipped, expired, or missing a matching lid
- Relocate rarely-used items (holiday platters, the waffle iron) out of prime cabinets
- Measure your shelves only after grouping, so you buy the right sizes the first time
What most guides miss: measure the cabinet interior in three dimensions, not just the shelf width. Note the front-to-back depth, the width, and the vertical gap to the shelf above, then subtract about half an inch for hinge intrusion. That last number is what actually decides whether a riser, bin, or pull-out clears the door and slides in. We’ve returned more organizers for being an inch too tall than any other reason.
Free checklist
Spending $100 on a room? Spend it in this order.
The four phases we use, starting with the free one that changes more than any purchase.
2. Shelf Risers and Stackable Shelves
The empty air above your plates is the single most wasted space in any cabinet. Shelf risers add a second level for mugs and short items, while stackable wire shelves do the same for cans and jars. In our tests, a two-pack of risers nearly doubled the usable volume of a standard 12-inch cabinet.
IKEA’s VARIERA shelf inserts run about $12-$15, and Target’s stackable wire shelves land around $15-$18. Use risers in dish cabinets and stackers in food cabinets.
- Shelf risers ($12-$18): instantly double stacking height for plates and mugs
- Stackable wire shelves ($15-$18): create a second tier for cans and spice jars
- Under-shelf baskets ($8-$14 each): clip onto a shelf and use the dead space below
What most guides miss: zone your cabinets by how often you reach for things, not by category alone. Daily items (everyday plates, mugs, the coffee gear) belong between hip and eye height, where you grab without bending or a step stool. Weekly items sit above; the once-a-year roasting pan goes to the highest shelf or another room. Deep front-to-back stacking is the real space-waster, since anything behind the front row turns invisible, which is exactly what the next few systems fix.
3. Lazy Susans for Corners
Corner cabinets swallow items into a deep, dark void, which is why a lazy Susan earns its keep. A simple $10-$25 turntable spins your oils, sauces, and spices into reach without the excavation. The Container Store and Amazon both carry two-tier versions for around $20 that double the vertical payoff.
We reorganized a friend’s blind corner cabinet last spring, and a single $18 turntable recovered space that had been holding two forgotten bottles of vinegar for years.
- Use a small turntable for oils, vinegars, and cooking sauces
- Pick a two-tier version for spice jars and short bottles
- Choose a non-slip surface so jars don’t slide when you spin
4. Door-Mounted Storage
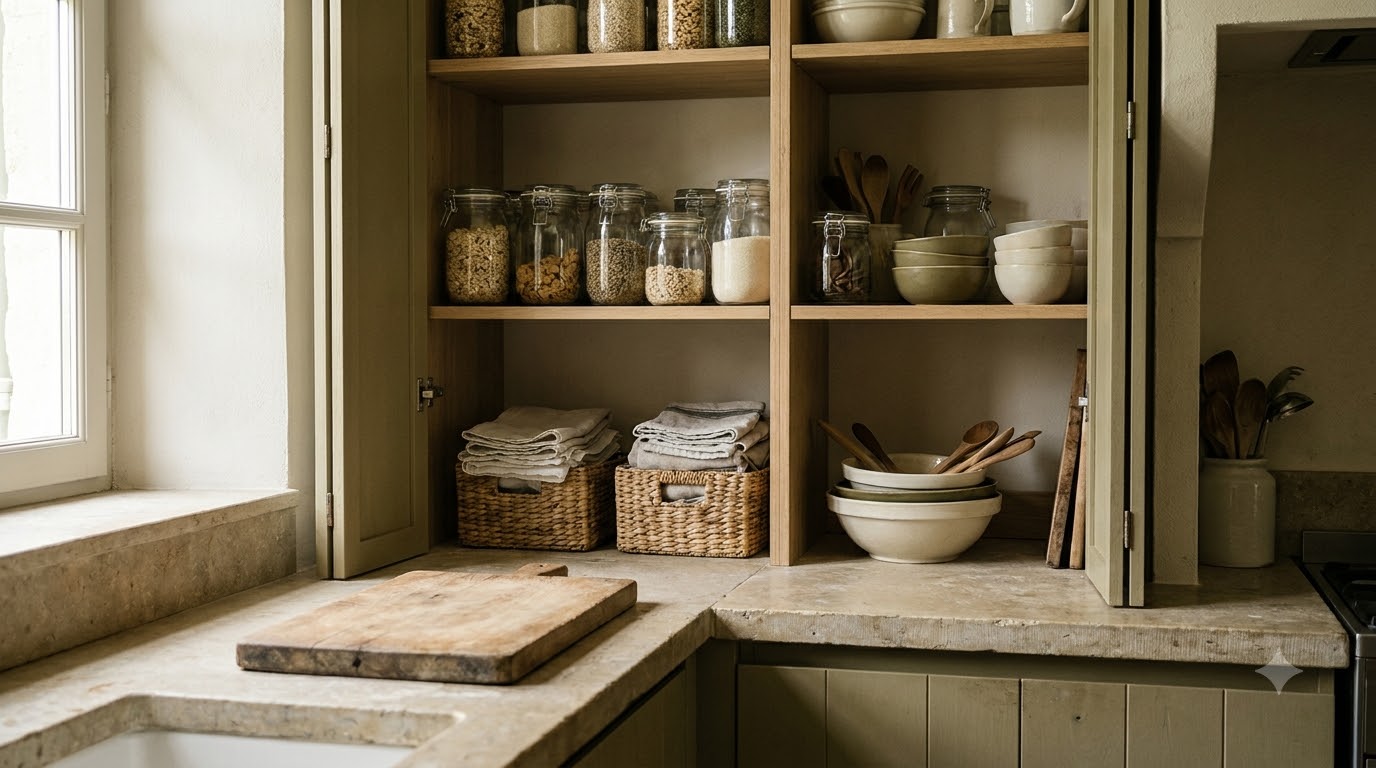
The inside of every cabinet door is free real estate most people ignore. Door-mounted racks and adhesive bins add an entire extra shelf without touching the cabinet interior. They’re ideal for spice jars, cutting boards, foil boxes, and cleaning bottles under the sink.
The Container Store’s over-the-door racks start around $15, and adhesive door bins from Amazon run $12-$20 for a set. Renters, this is your friend, since peel-and-stick versions leave no marks. For more damage-free ideas, see our no-drill renter kitchen guide.
- Over-the-door wire racks ($15-$25): spice jars and cutting boards
- Adhesive door bins ($12-$20): foil, wraps, and sponges
- Door-mounted lid holder ($10): tames pot lids under the counter
5. Pull-Out Organizers
Deep base cabinets are where good intentions go to die. Pull-out organizers slide the whole shelf toward you, so the pots at the very back stop disappearing. Wire pull-out baskets run $25-$40, and two-tier pull-outs for under the sink reach about $40-$60.
Most models install with a few screws, but freestanding pull-out baskets exist for renters who can’t drill. We break down deep and awkward spaces further in our kitchen storage hacks roundup and the kitchen drawer organization guide for shallower spots.
- Use a single pull-out basket for pots and pans in a deep base cabinet
- Add a two-tier pull-out under the sink to build around the plumbing
- Keep heavier items on the lower tier so the slide stays balanced
6. A Labeling System That Sticks
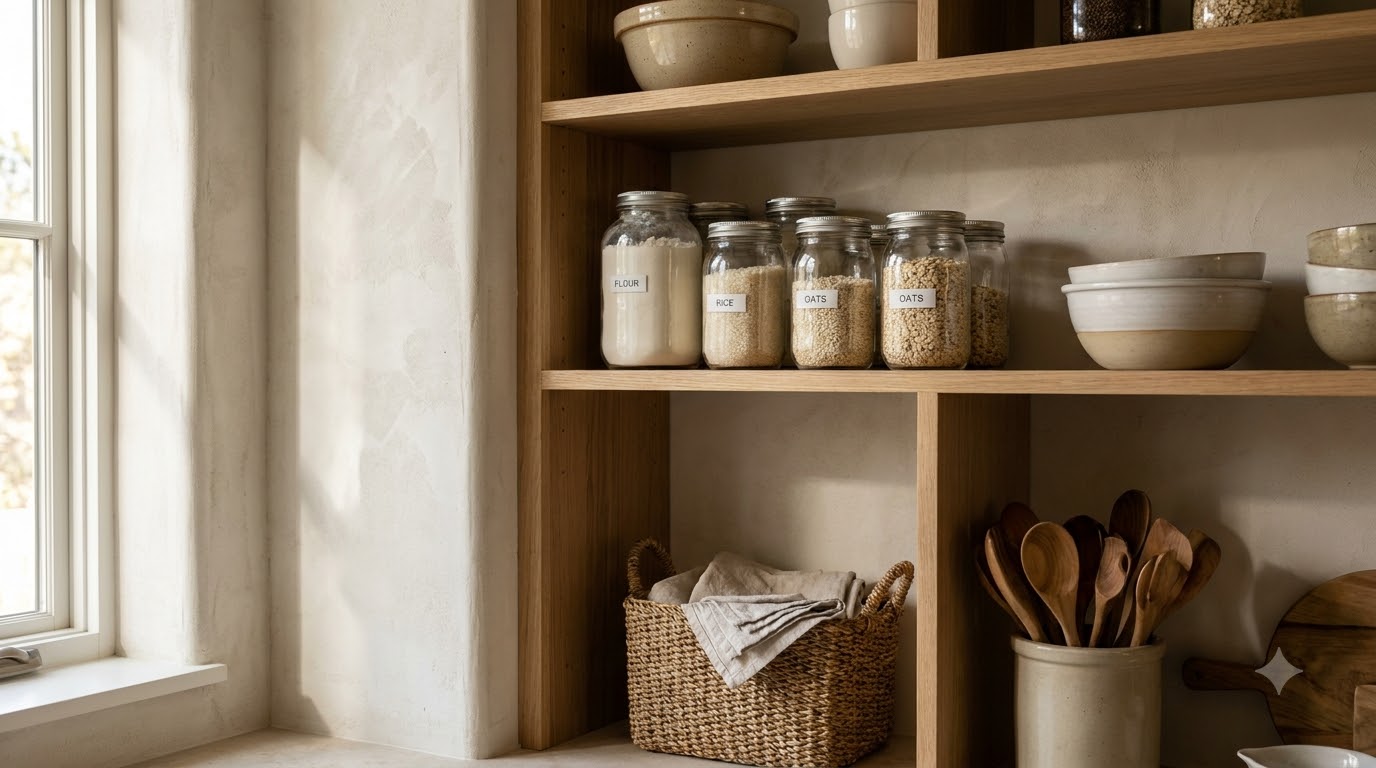
A system nobody can read falls apart within a week. Labels tell every household member where things belong, which is what keeps a cabinet organized long after the cleanup high fades. A basic label maker costs about $20, or use $8 chalk labels and a marker for a lower-commitment start.
Label the shelf edge, not just the container, so the category survives even when a bin is empty. The Spruce has a helpful primer on pantry and cabinet labeling basics worth a skim before you print a hundred tags.
- Label shelf edges by category: baking, dishes, food storage
- Use clear removable labels on decanted containers so refills are simple
- Keep fonts and colors consistent so the whole kitchen reads as one system
7. Maintaining the System
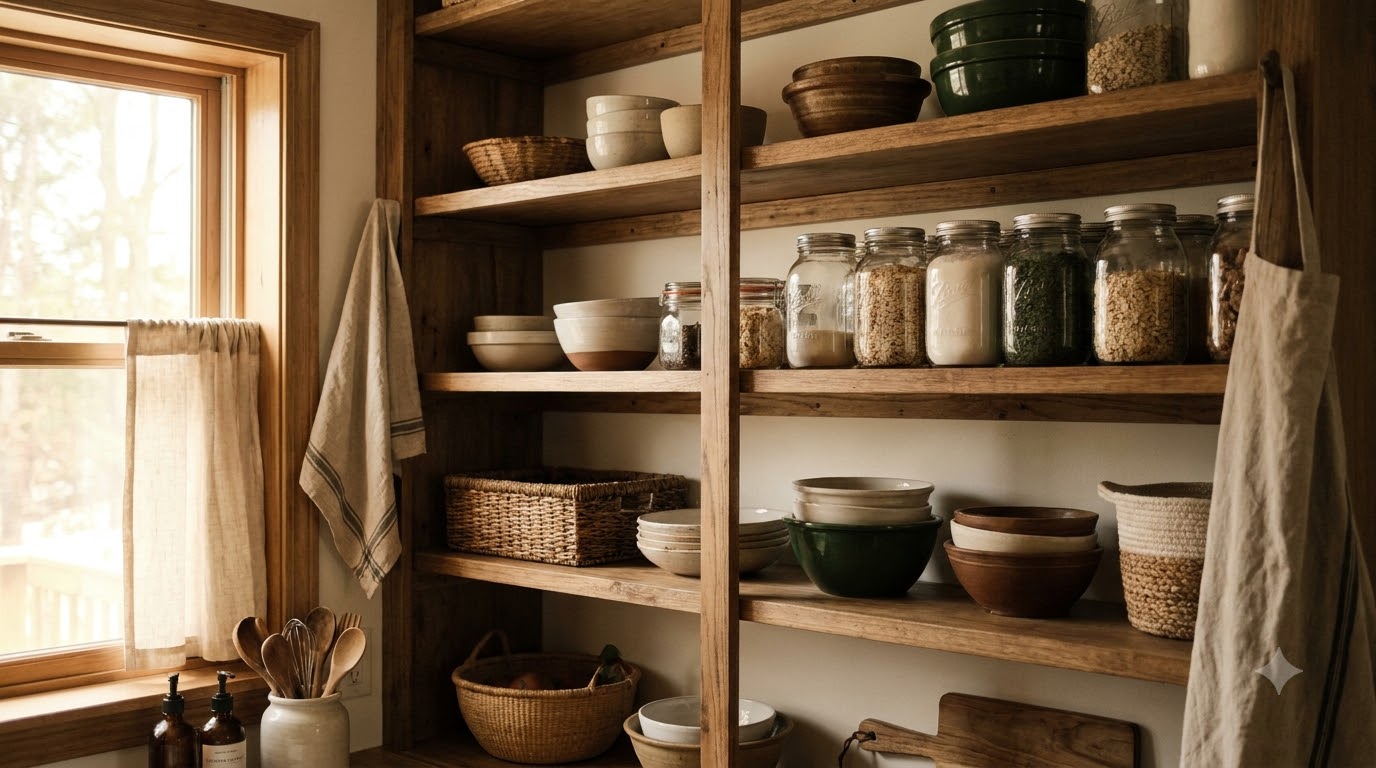
The best kitchen cabinet organization survives real life because it’s easy to reset. After organizing dozens of kitchens, we’ve learned the systems that last share one habit: a quick weekly reset instead of a giant annual overhaul. Five minutes on a Sunday keeps everything where it belongs.
Follow a one-in-one-out rule for gadgets and dishware. When a new mug arrives, an old one leaves. That single rule is what stops a freshly organized cabinet from creeping back to chaos over a few months. For food zones, pair this with our pantry organization ideas so the whole storage flow stays consistent.
- Do a five-minute weekly reset to return stray items home
- Apply one-in-one-out for every new gadget or dish
- Re-label whenever a category moves, so the map always matches reality
8. Best Cabinet Organizers
If you want a ready-to-buy shortlist, these are the categories that deliver the most space per dollar. Our full tested roundup with specific picks lives in best kitchen organizers 2026, and countertop overflow fixes are in our kitchen countertop organization walkthrough.
- Shelf risers: best first purchase, doubles cabinet height
- Two-tier lazy Susan: rescues the blind corner cabinet
- Over-the-door rack: free storage on every cabinet door
- Wire pull-out basket: ends deep-cabinet digging
- Label maker: keeps the whole system readable
Frequently Asked Questions
How do I organize kitchen cabinets without spending much?
Start free by emptying and grouping every cabinet by category, which solves half the problem before you buy anything. Then add shelf risers ($12-$18) and a lazy Susan ($10-$25) to your worst cabinets first. Those two picks deliver the biggest space gain per dollar.
What is the best way to organize deep kitchen cabinets?
Pull-out baskets and organizers ($25-$60) are the answer. They slide the entire shelf toward you, so items at the very back stay reachable instead of forgotten. Renters can use freestanding pull-out baskets that need no drilling and lift right out when you move.
How do I use the corner cabinet space?
A lazy Susan turntable makes a deep corner cabinet usable for about $10-$25. Choose a two-tier version for spice jars and short bottles, or a single wide turntable for oils and sauces. Non-slip surfaces keep everything from sliding when you spin it.
How do I keep my cabinets organized long-term?
Give every item a labeled home and follow a one-in-one-out rule for new gadgets. Add a five-minute weekly reset to return stray items to their zone. See our pantry organization ideas for keeping food cabinets consistent too.
How do I measure a cabinet before buying organizers?
Measure three dimensions inside the cabinet: front-to-back depth, width, and the vertical gap to the shelf above. Subtract about half an inch for hinge and door-frame intrusion. Match risers and pull-outs to the smallest of those numbers so the piece actually clears the opening.
What wastes the most cabinet space?
Deep front-to-back stacking wastes the most, since anything behind the front row becomes invisible and forgotten. Empty vertical air above short items is second. Fix both by zoning daily items at hip-to-eye height, then adding risers up top and pull-outs down low.