
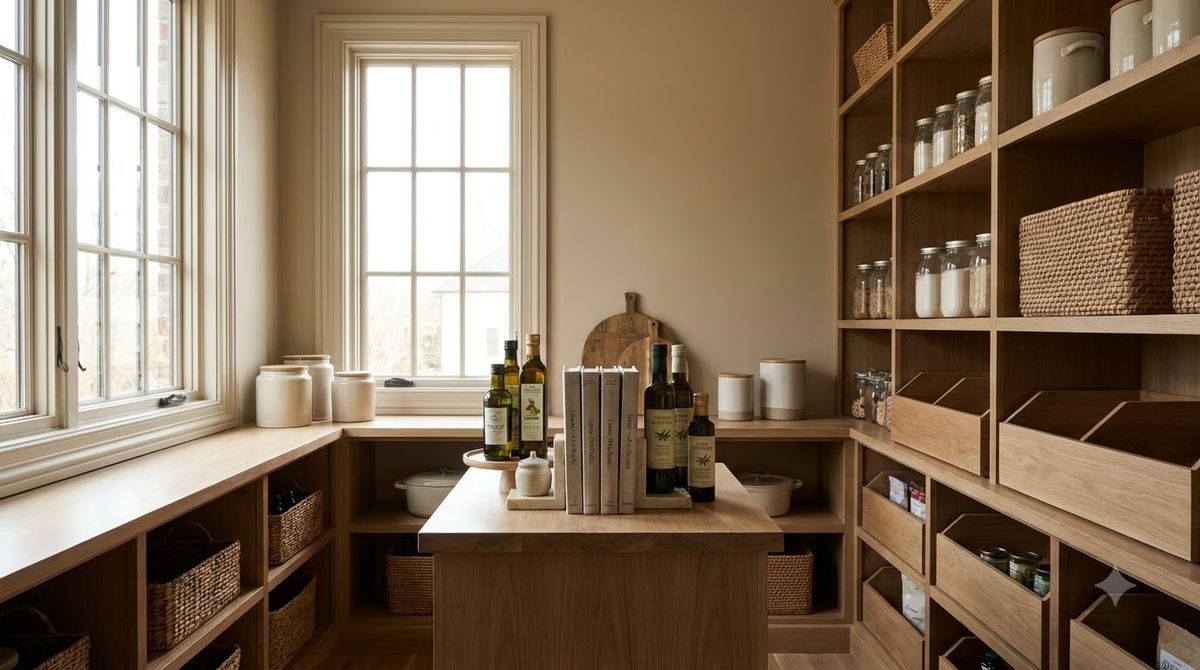
A good pantry isn’t about matching jars. It’s about a system that makes every item easy to see, reach, and restock. Most of us keep food we forgot we owned, and that hidden overstock is exactly what makes a pantry feel chaotic. The same eight steps work for everything from a walk-in to a single narrow cabinet. Follow them in order: declutter first, then decant, zone, and label, so you build the system on a clean foundation instead of shuffling clutter around. Real prices below run from about $2 a container to roughly $150 for a full setup.
Key Takeaways
- Declutter and check expiry dates first: organizers only lock old clutter in place, so clear it out before you buy anything
- Decant dry goods into clear containers: you’ll see what’s low at a glance and save shelf space with square, stackable shapes
- Zone by category (baking, breakfast, snacks, canned) so everyone in the house puts things back in the same spot
- Bins and baskets corral loose packets and turn a deep shelf into a pull-out drawer for $5-$15 each
- Label everything, even clear jars, so the system survives busy weeks and other people
- No pantry? A rolling cart ($30-$60) or a single tall cabinet works as a full food zone
1. Declutter and Check Expiry Dates
Every pantry project starts here, and skipping it is why most “organized” pantries slide back into chaos within a month. Decluttering and reducing waste rank among the biggest kitchen priorities heading into 2026 (NKBA 2025 Kitchen Trends Report). You almost certainly own more than the space can hold.
Pull everything out onto the counter, one shelf at a time. Check every expiry date, and be honest about the half-used bags you’ll never finish. Sort into keep, donate, and toss.
- Bin anything expired, stale, or open for over a year
- Donate unexpired extras to a local food bank
- Group the keepers loosely by type as you go, since that becomes your zoning map later
The same declutter-first rule anchors our full small kitchen organization ideas guide.
Free checklist
Spending $100 on a room? Spend it in this order.
The four phases we use, starting with the free one that changes more than any purchase.
2. Decant Into Clear Containers
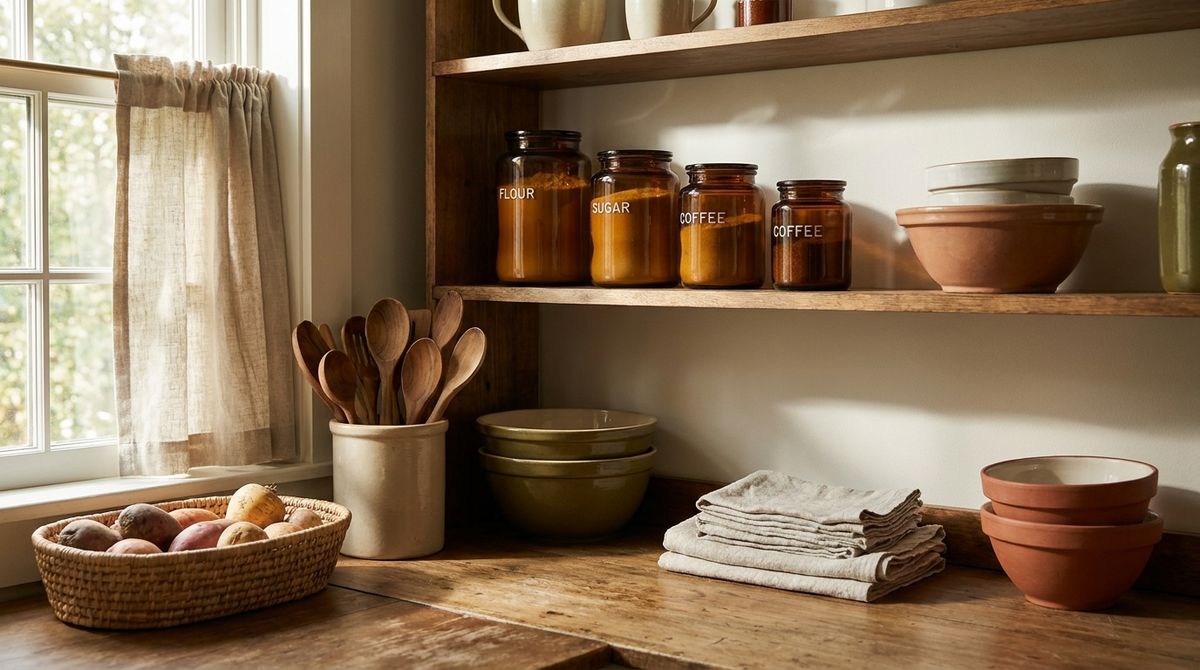
Decanting is the step that transforms how a pantry looks and works. Clear, airtight containers let you see exactly what’s running low, and square shapes waste far less shelf space than the original bags and boxes. Moving flour, sugar, pasta, rice, and cereal into square containers can reclaim a good part of a shelf.
You don’t have to buy the pricey sets first. Start with your highest-turnover staples.
- OXO POP containers ($10-$15 each): airtight, one-hand seal, great for flour and sugar
- IKEA 365+ jars ($4-$8): budget clear storage for grains and snacks
- Dollar Tree canisters ($1.25-$2): fine for a starter set while you test what fits
The Spruce recommends airtight containers to keep dry goods fresh and pest-free (The Spruce). Keep the original packaging label with cooking instructions tucked inside or photographed.
What most guides miss: an airtight seal stretches pantry staples well past their open-bag life, roughly 6 to 12 months for flour and up to a year or more for pasta and rice, because it blocks the moisture and pantry moths that ruin an opened bag in weeks. Decant dry staples, but keep canned, jarred, and oily items (nuts, brown rice) in their packaging, since those either don’t benefit or turn rancid faster once exposed. Before you decant, snap a photo of the barcode and lot code so you keep the cooking ratios and any recall information.
3. Zone by Category
Zoning is the difference between a pantry that stays tidy and one that needs re-organizing every month. Group like with like: baking, breakfast, snacks, canned goods, pasta and grains, and drinks. When every category has a fixed home, everyone in the house returns items to the same place without thinking.
Put the zones you reach for daily at eye level. Baking supplies and rarely-used appliances can go up high or down low.
- Eye level: breakfast, snacks, everyday staples
- Lower shelves: heavy items, bulk buys, kid-accessible snacks
- Top shelf: occasional baking, party supplies, backstock
This mirrors how we group items in our kitchen cabinet organization system.
4. Use Bins and Baskets
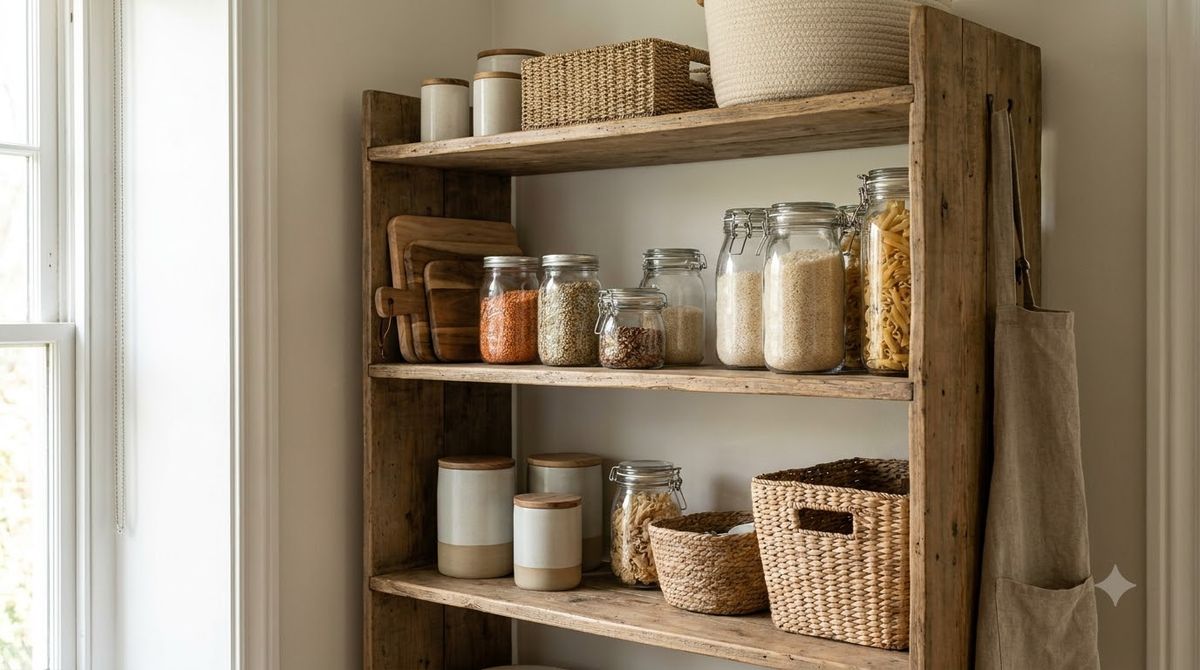
Bins do for a deep pantry shelf what dividers do for a drawer: they create pull-out compartments and stop small packets from vanishing to the back. A single bin can turn wasted depth into an accessible mini-drawer you slide out with one hand.
Loose items like snack packets, seasoning envelopes, and tea bags are the biggest offenders, so start there.
- mDesign clear bins ($8-$15): stackable, and you can see the contents
- The Container Store shelf baskets ($10-$20): sturdy for canned goods and jars
- Target Brightroom bins ($5-$12): budget-friendly and come in matching sizes
Measure your shelf depth and height before buying, and pick bins with handles for anything on a high shelf. For narrow gaps, the same slim-cart trick from our kitchen storage hacks roundup works inside a pantry too.
What most guides miss: measure the shelf height, not just the depth, before you order bins. Most fixed pantry shelves sit 12 to 16 inches deep, but the vertical gap is what trips people up. Leave at least an inch of clearance above the bin rim so it slides out without catching, and remember a standard soup can is about 4.5 inches tall. Buy one bin, test the fit and the slide, then order the rest, because a set that’s an inch too tall or deep just becomes expensive dead weight at the back of the shelf.
5. Label Everything
Labels are what keep a system alive after the honeymoon week. Even with clear containers, a label removes all guesswork: no more mistaking powdered sugar for flour or wondering how long the rice has been open. Labels also tell family and guests exactly where things belong.
Choose a method that matches your effort level.
- Chalk labels ($6-$10 a set): rewritable, forgiving, no printer needed
- Printed vinyl labels ($8-$20): clean and uniform for a polished look
- A simple label maker ($20-$40): fast for large pantries and drawer fronts
Add the purchase or expiry date to the label so you rotate stock and cut waste. The Container Store’s organizers recommend labeling as the final lock-in step (The Container Store).
6. Small or No-Pantry Hacks
No dedicated pantry? Most kitchens hide one in plain sight. A tall cabinet, a rolling cart, the back of a door, or even a repurposed bookshelf can hold a full food zone when you use vertical space and clear containers.
- Slim rolling cart ($30-$60): tucks into a 10-inch gap, rolls out as a pantry
- Over-the-door rack ($20-$35): claims dead door space for cans and spices
- Under-shelf baskets ($8-$14): double the storage on any fixed cabinet shelf
- Tension-rod dividers ($8): stand baking sheets and cutting boards upright
Renters, all of these mount without a single hole, which is the whole premise of our no-drill renter kitchen organization guide.
7. A Maintenance Routine
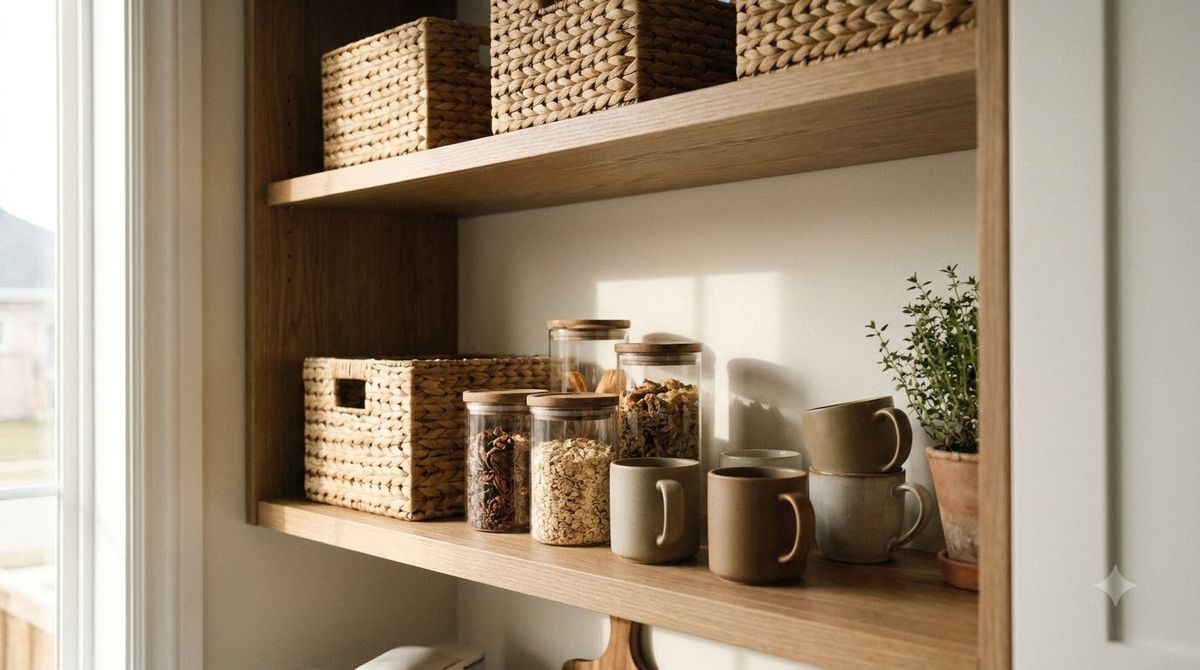
The best system fails without a rhythm to keep it running. A pantry drifts back to chaos when restocking gets sloppy, so build in two simple habits. This is the step most articles skip, and it’s the one that actually matters six months later.
- Weekly: front-face containers and jot low items on your list before shopping
- Monthly: wipe one shelf and pull anything near expiry to the front
- Seasonally: a 20-minute reset to re-zone and toss what crept in
Follow a one-in-one-out rule for snacks and gadgets. The same nightly-reset discipline keeps our kitchen countertop organization surfaces clear, and it works just as well behind a pantry door.
What most guides miss: the habit that actually cuts waste is FIFO, first in, first out. When you restock, move the older container or can to the front and slide the new one behind it, the same rotation grocery stores use. When you decant a fresh bag, top up from the bottom or empty the jar fully first so the oldest flour never gets buried and forgotten under a year of new pours.
8. Best Pantry Containers and Labels
If you want a ready-to-buy shortlist, these categories give the most order per dollar. Our full tested roundup with specific picks lives in best kitchen organizers 2026.
- OXO POP containers: airtight staple storage, best first buy
- IKEA 365+ jars: budget clear jars for grains and snacks
- mDesign clear bins: turn deep shelves into pull-out drawers
- Chalk or vinyl label set: locks the system in place
- Slim rolling cart: instant pantry for tight gaps
Frequently Asked Questions
In what order should I organize a pantry?
Declutter and check expiry dates first, then decant staples into clear containers, zone by category, add bins for loose items, and label everything. Doing it in this order means you build the system on what you actually keep, not around old clutter.
Do I really need to decant everything into containers?
No. Decant your highest-turnover dry goods first, like flour, sugar, pasta, rice, and cereal, since those save the most space and stay freshest sealed. Leave canned goods and jarred items in their packaging and corral them in bins instead.
How do I organize a kitchen with no pantry?
Turn a tall cabinet, rolling cart, or the back of a door into a food zone. Use clear containers, over-the-door racks, and under-shelf baskets to go vertical. Our small kitchen organization ideas guide covers the full no-pantry playbook.
How often should I reorganize my pantry?
Front-face containers weekly, wipe a shelf and check expiry dates monthly, and do a full 20-minute re-zone each season. This light routine prevents the big overwhelming overhaul, and it’s the habit that keeps the system tidy long-term.
How long does flour last in an airtight container?
Sealed in an airtight container, all-purpose flour keeps roughly 6 to 12 months in a cool pantry, versus a few weeks once a bag is opened. The seal blocks moisture and pantry moths. For longer storage, keep whole-grain and nut flours in the freezer, since their oils turn rancid fastest.