
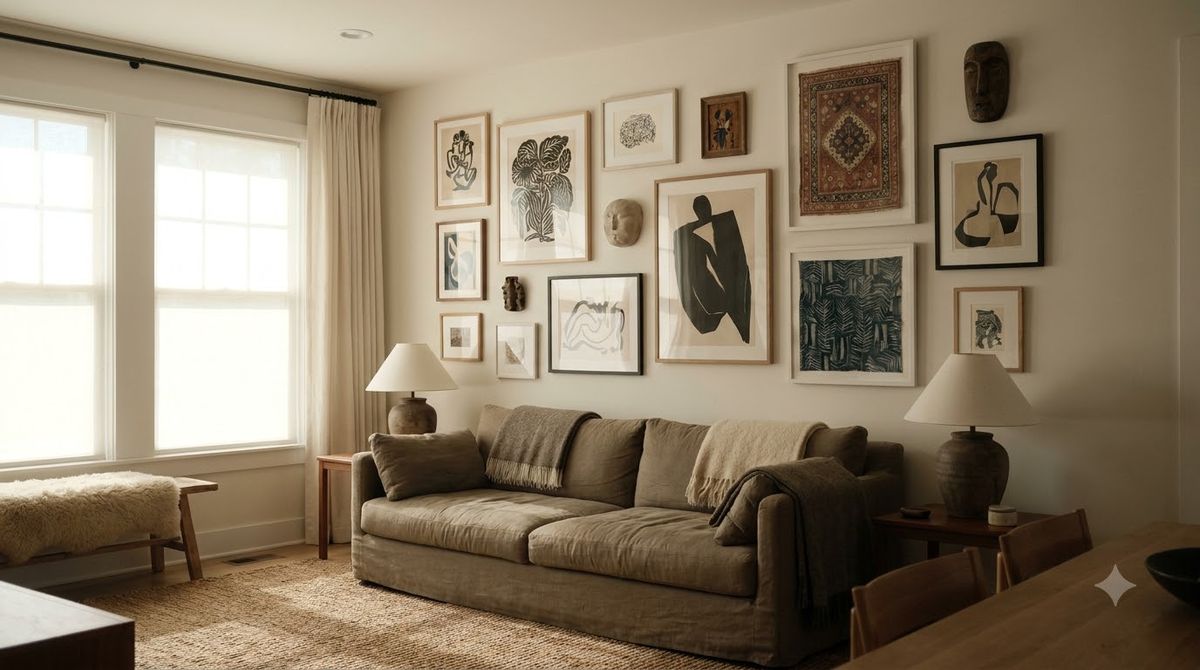
The one rule that makes a gallery wall work: treat the whole cluster as a single rectangle, then keep even 2–3 inch gaps between every frame. Plan the shape on the floor or with kraft-paper templates before a single nail goes in, and hang so the group’s visual center lands at 57–60 inches from the floor. Do that and mismatched frames still read as one intentional piece. Skip it, and even matching frames look scattered. Here’s the exact step-by-step we use in real rooms.
Plan it on your own wall: our free gallery wall layout generator places every frame and nail for your wall and sofa size.
Key Takeaways
- The whole cluster is one rectangle: plan its outer edges first, fill the middle second
- Space frames 2–3 inches apart, evenly — inconsistent gaps are the #1 reason a gallery wall looks messy
- Center the group at 57–60″ from the floor, or 6–10″ above a sofa back
- Template before you drill: trace frames onto kraft paper and tape them up, so zero holes are wasted
- Anchor with the largest frame slightly left of center, then build outward
- A starter set of 6 IKEA RIBBA frames runs about $40–70, cheaper than one oversized print
What Is the One Rule That Makes a Gallery Wall Work?
Treat the entire arrangement as one big rectangle, not a pile of separate frames. Designers at Apartment Therapy call this the single biggest fix for a chaotic wall, and we agree. When the outer edges form a clean rectangle (or square), the eye reads the group as one deliberate object, even with wildly different frames inside.
Picture nine mismatched thrift frames that look like clutter. Re-hang them inside an invisible 40×50″ rectangle and the same frames and art suddenly look designed. Nothing changes but the outer shape.
Everything below serves that one rule: consistent gaps keep the rectangle tight, floor layouts test the shape, and templates transfer it to the wall without guesswork.
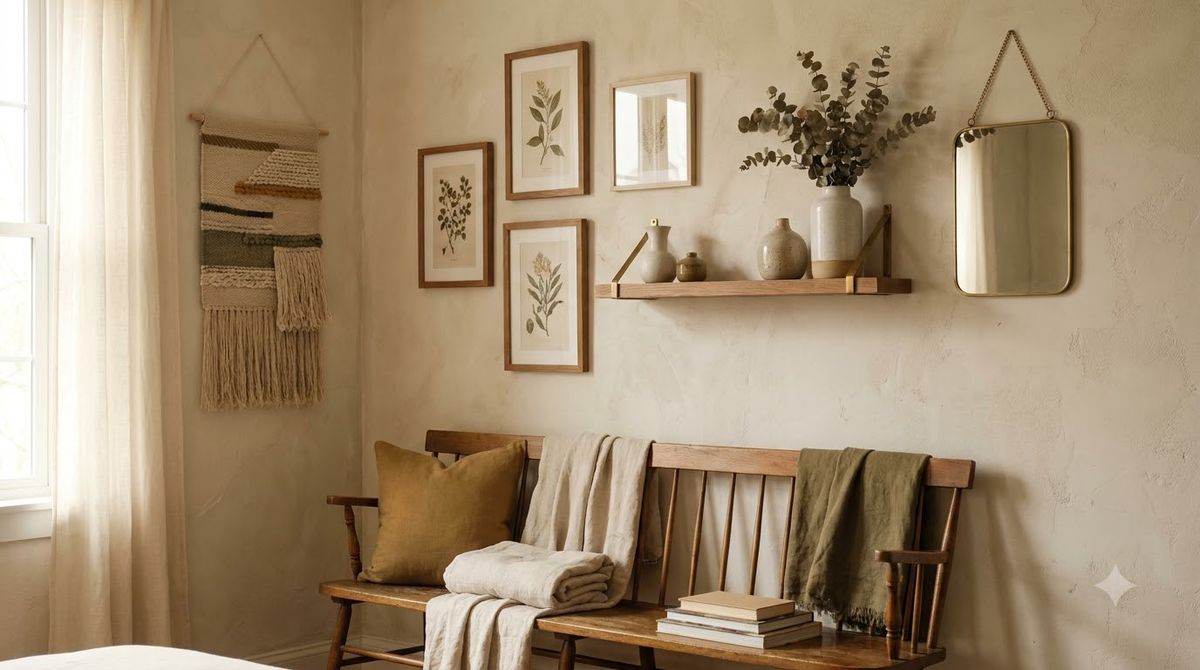
How Do You Plan a Gallery Wall Step by Step?
Follow six steps in order. Skipping the layout steps is where most gallery walls go wrong, so measure and template before you drill.
Step 1: Measure the wall and the furniture below it
Give the group an anchor. If there’s furniture below, the cluster should span about two-thirds the width of the sofa, console, or bed and sit centered above it. On a bare wall, aim for the group to fill roughly three-quarters of the wall’s visual width. Write those two numbers down before you shop.
Step 2: Choose your frames and art
Pick a mix of sizes but limit yourself to two or three frame colors for cohesion. A workable starter mix:
- 2 large frames (16×20″ or 18×24″) as anchors
- 3–4 medium frames (11×14″ or 8×10″)
- 2–3 small frames (5×7″) to fill gaps
- IKEA RIBBA and Target’s Threshold line run $5–15 per frame; Etsy printable art sets cost $8–20 for a full download
What most guides miss: a mixed-frame cluster reads best at roughly a 3-2-1 size ratio, one dominant anchor, two or three mediums, and a couple of small fillers. Keep the finishes to two or three at most. It’s the color count, not the size mix, that tips a wall from curated into cluttered.
Step 3: Lay the whole thing out on the floor first
Arrange every frame on the floor in front of the wall. Shuffle until the outer edges form a rectangle and the gaps look even. This costs nothing and catches problems a wall never forgives.
Step 4: Make kraft-paper templates
Trace each frame onto kraft paper (or an Amazon roll for $8–10), cut out the shapes, and mark where the hanging hook or nail hits on each one. Tape the paper cutouts to the wall with painter’s tape and step back.
Step 5: Set the hanging height and order
Center the group at 57–60″ from the floor, or 6–10″ above a sofa back. Hang the largest anchor frame first, slightly left of center. Build outward and downward from there.
Step 6: Drill through the paper, then tear it away
Hammer or drill directly through the marked spot on each paper template, hang the frame, then tear the paper off behind it. No math on the wall, no wasted holes.
We’ve hung the same 7-frame set twice: once eyeballing it (four extra nail holes, one crooked row) and once with kraft-paper templates (zero wasted holes, done in 25 minutes). The paper step is the difference between guessing and knowing.
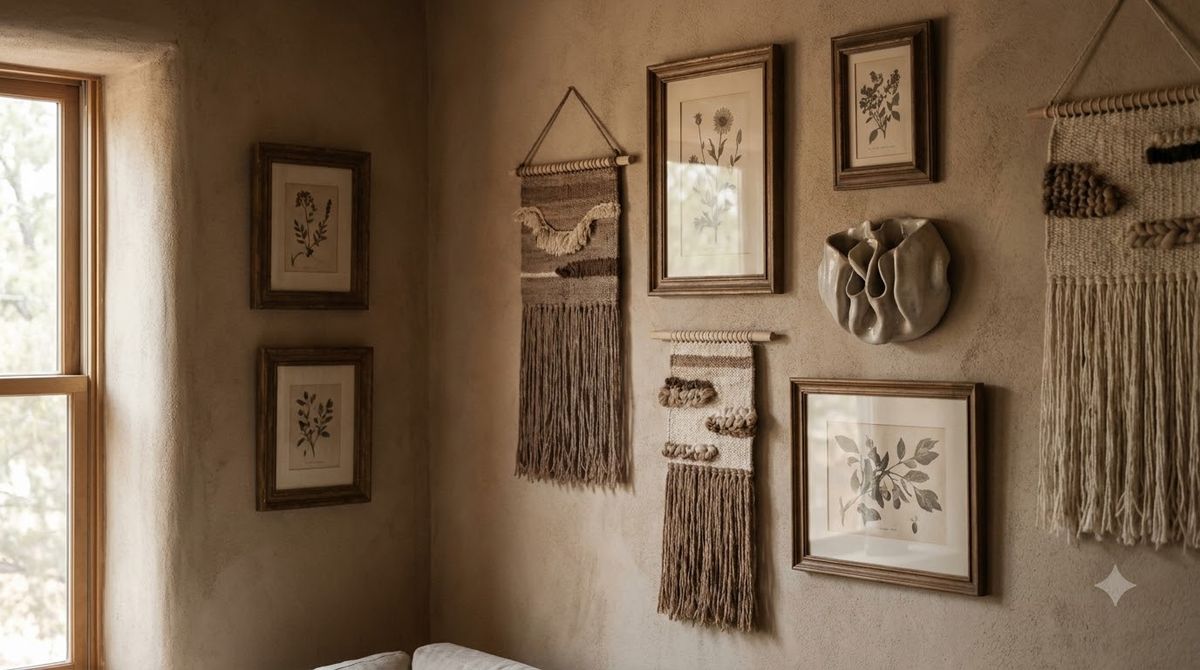
How Do You Space Frames on a Gallery Wall?
Keep gaps between 2 and 3 inches, and keep them consistent across the whole group. The Spruce recommends 2–3″ as the sweet spot: tighter than 2″ feels cramped, wider than 3″ breaks the rectangle apart. Consistency matters more than the exact number you pick.
A simple trick: cut a 2.5″ spacer from cardboard and use it as a physical gauge between every frame. Same spacer, every gap, every time.
What most guides miss: that 2–3″ gap is measured frame edge to frame edge, not mat to mat. If your frames have wide mats, hold the gap to the low end (2″) so the mats don’t visually merge two pieces into one blurry block. Bigger frames can carry the full 3″; small 5×7s look best closer to 2″.
Spacing and size quick reference
| Wall / furniture width | Frames in the cluster | Cluster should span | Gap between frames |
|---|---|---|---|
| 54″ loveseat | 4–6 frames | ~36–40″ wide | 2″ |
| 72″ sofa | 6–9 frames | ~48–54″ wide | 2–3″ |
| 84–96″ sofa | 9–12 frames | ~60–70″ wide | 2.5–3″ |
| Queen bed (60″ headboard) | 5–7 frames | ~44–50″ wide | 2–2.5″ |
| Tall stairwell wall | 5–8 frames | follows the stair angle | 3″ |
Where Do You Start a Gallery Wall?
Start with the largest frame, placed slightly left of the group’s center. This anchor sets the visual weight, and everything else balances around it. Architectural Digest notes that anchoring off-center reads more naturally than a dead-center bullseye, which can feel stiff.
Anchoring left of center works because most people scan a wall left to right, the same way we read. The big frame greets the eye first, then the smaller frames trail off like a sentence. Anchor on the right and the arrangement feels like it’s fighting your gaze. It’s a small thing that most guides skip, but it’s why some walls feel calm and others feel busy.
From the anchor, build outward in every direction, filling gaps with medium and small frames while keeping that outer rectangle intact. For grab-and-go arrangements, our gallery wall layout templates give you exact grids to copy.
What Are the Best Gallery Wall Layout Ideas?
Four layouts cover almost every wall. Pinterest’s 2026 save data shows grid and salon-style clusters among the most-saved wall decor formats, and both are beginner-friendly.
- The clean grid: 6 or 9 identical frames in even rows, all same size, 2″ gaps. Graphic, cheap, forgiving. Great above a bed or desk.
- Salon style: mixed sizes packed into one rectangle, largest anchor left of center. The classic gallery look.
- The horizontal line: frames aligned along a shared centerline, ideal above a long sofa or down a hallway.
- The staircase run: frames stepping up alongside stairs, each centered on the wall at eye level as you climb.
For rooms beyond the frame cluster, browse our living room wall decor ideas and the sofa-specific breakdown in above the couch wall decor.
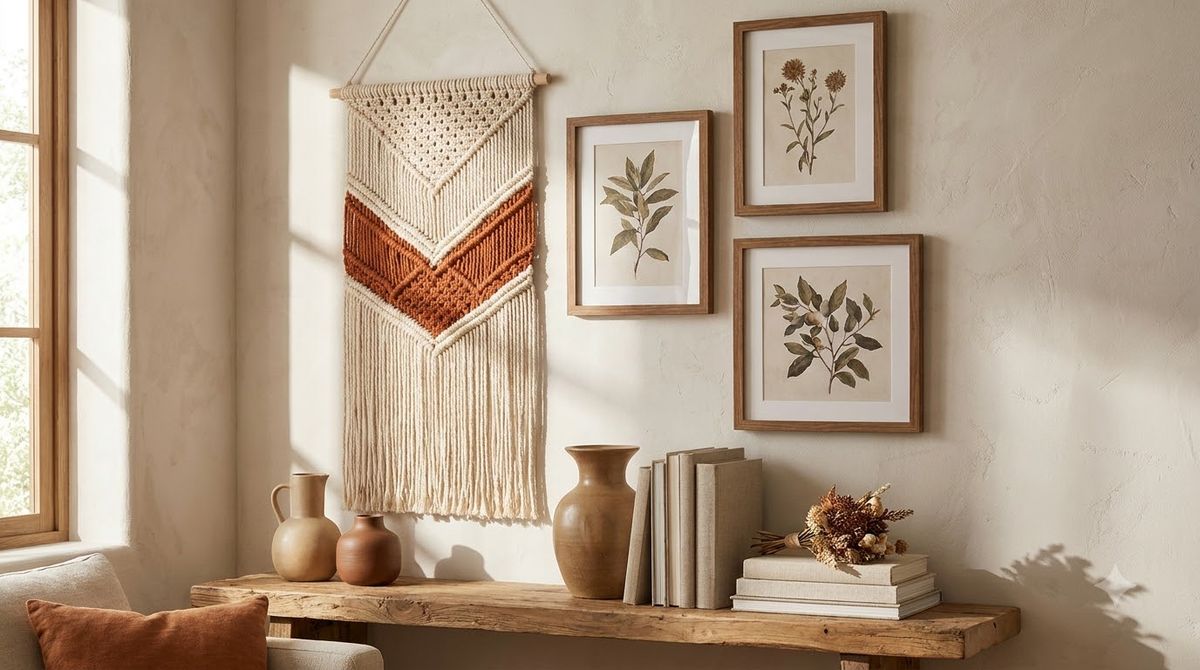
How Do You Fill a Gallery Wall on a Budget?
You don’t need pricey art. A full 6–9 frame wall can come together for under $60 with the right sources. Etsy printable bundles ($8–20) plus IKEA RIBBA frames ($5–15 each) beat a single oversized print on cost and impact.
- Print at home or a print shop: Etsy digital sets download instantly; print 8×10s for pennies at a pharmacy kiosk
- Free wall art: botanical scans, vintage maps, and museum open-access downloads cost nothing
- Frames: IKEA RIBBA, Target Threshold, or thrift-store frames spray-painted one uniform color
- DIY fillers: pressed flowers, fabric swatches, kids’ art. More ideas in our cheap DIY wall art guide
If a full cluster still feels like too much, one well-scaled piece may be the smarter move. We cover that in empty wall ideas.
How Do You Hang a Gallery Wall Without Damage?
For renters, skip the nails entirely. Command strips rated for 10+ pounds hold most framed prints up to 18×24″ with zero wall damage, which keeps deposits safe. Picture ledges mounted with heavy-duty adhesive let you lean and swap frames anytime.
- Command picture-hanging strips ($8–12 per pack): press-on, level, renter-safe
- Adhesive picture ledges: lean frames instead of hanging, rearrange with no holes
- Match the strip weight rating to each frame, and prep the wall by wiping it clean first
What most guides miss: adhesive strips only hold if you press each side firmly for 30 seconds, then wait a full hour before hanging the frame. Skipping that cure time is the top reason strips let go a week later. For frames over a pound, split the weight across two strip pairs, one per top corner, so the piece stays level.
Our full technique walkthrough, including laser levels and nail-vs-strip decisions, lives in how to hang wall art.
Frequently Asked Questions
How do you space frames on a gallery wall?
Keep 2–3 inches between every frame, and keep the gap consistent across the whole group. Tighter than 2″ feels cramped; wider than 3″ breaks the cluster apart. Cut a 2.5-inch cardboard spacer and use it as a gauge between each frame for even results.
Where do you start a gallery wall?
Start with the largest frame, placed slightly left of the group’s center. This anchor sets the visual weight, and every other frame balances around it. Hang the anchor first, then build outward and downward, keeping the whole arrangement inside one clean rectangle.
How many frames for a gallery wall?
It depends on wall width. A 72-inch sofa suits 6–9 frames spanning about 48–54 inches; a loveseat wants 4–6 frames; a large sofa wall handles 9–12. Aim for the cluster to fill roughly two-thirds of the furniture width below it.
How do you plan a gallery wall without putting holes in the wall?
Lay every frame on the floor first, then trace them onto kraft paper. Cut out the shapes, mark each hanging point, and tape the paper templates to the wall with painter’s tape. Adjust until the layout looks right, then drill straight through the paper.
What is the correct height for a gallery wall?
Center the whole group at 57–60 inches from the floor, the standard gallery height. Above a sofa or console, leave 6–10 inches between the bottom frames and the furniture instead. Treat the cluster’s collective center as your reference point, not any single frame.
Do you have to use matching frames on a gallery wall?
No. Mismatched frames work well as long as you keep the finishes to two or three colors and hold the outer edges to one rectangle. Limit the palette, not the shapes. Nine thrifted frames can read as one designed piece once the spacing is tightened.
How long does it take to hang a gallery wall?
With kraft-paper templates, a 7-frame wall takes about 25 minutes once the layout is set. Most of the time goes into the floor layout and templating, not the drilling. Eyeballing it runs longer and usually leaves a few extra holes to patch.