You can make 18 pieces of DIY wall art for $0 to about $20 each, and a 24×36 inch engineering print is the cheapest way to fill a big wall. Each idea below lists materials with prices, time and skill level, so you can pick by budget or by how much effort you want to spend.
Key Takeaways
- Free ideas exist: a paint-chip grid, a framed wallpaper sample and pressed leaves can cost $0.
- One oversized piece fills a wall better than many small crafts; scale beats effort.
- A mat inside a frame makes cheap prints read as gallery art. IKEA’s LOMVIKEN 12×16 frame, $16.99, includes one.
- Washi tape and photo prints hang with no tools, so these work in a rental.
- Matte finishes look more expensive than shiny ones, so seal painted canvas with a matte medium.
Print and Frame Ideas
Prints are the fastest route to finished wall art because the “art” is a file you download or a photo you already own. Spend your effort on the frame and the mat.
1. Oversized Engineering Print on Foam Board
Engineering prints are large-format black and white prints made for architectural drawings, so a 24×36 inch sheet is cheap. A reader post on Everyday Reading reported about $7 to $8 at Staples and about $11 at FedEx Kinko’s for that size, and the paper is thin regular printer paper. Glue it to a 20×30 inch foam board (around $3 at Walmart) so it lies flat. Time: 30 minutes. Skill: none. Confirm today’s print price at checkout, since the post is older.
2. Free Printable in a Matted Frame
Download a free, high resolution printable (botanical line drawing, map, simple typography) and print it at home or at a copy shop. A mat is the trick: IKEA’s LOMVIKEN frame is 12×16 inches, $16.99, and comes with an acid-free mat that fits an 8×10 print with a 7×9 opening. The mat adds white space around a small image, which is why it looks framed by a gallery. Time: 20 minutes. Skill: none.
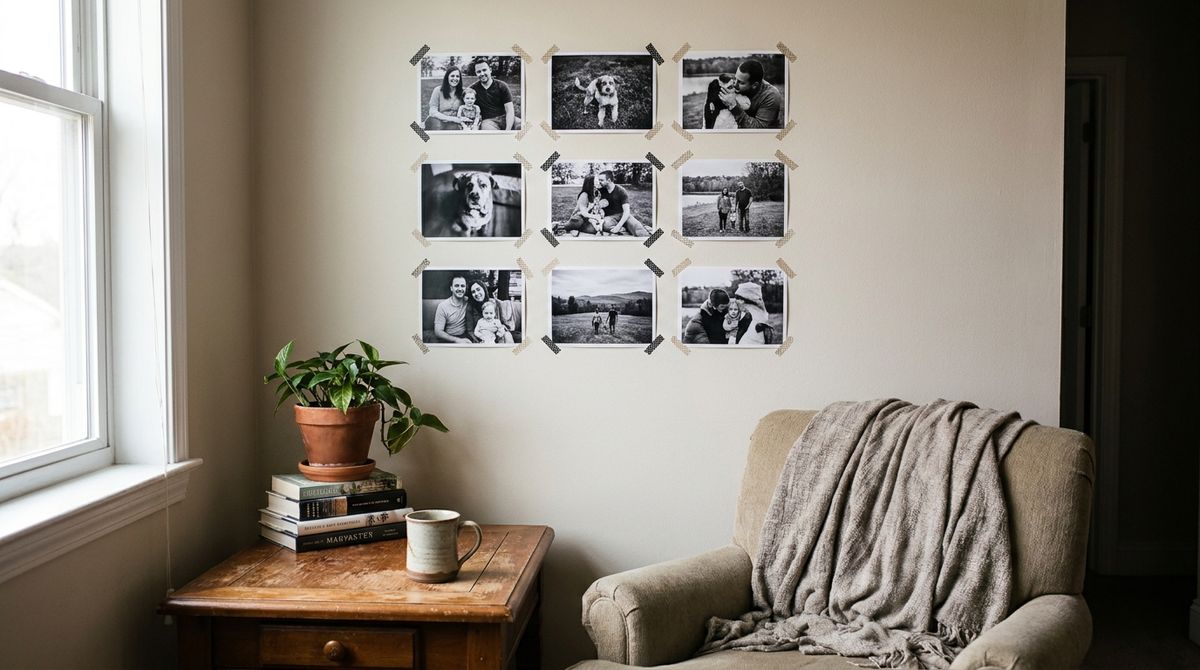
3. Nine-Print Photo Grid
Print nine 4×6 photos in black and white or one warm filter so they match, then tape them in a 3×3 grid with 1 inch gaps using washi tape on the corners. Washi tape sets run about $9 to $15 at Target, and photo prints are inexpensive at a drugstore. A grid reads as one big piece of about 14×20 inches, which is larger than any single photo. Time: 45 minutes. Skill: none. Keep it to lightweight paper prints.
4. Framed Wallpaper Sample
Paint and wallpaper shops often give out sample sheets, so one bold sheet can cost $0. Put a single bold pattern in a frame with a wide mat and it acts as abstract art. Pick a pattern with large scale, since small repeats look like a swatch. If you want a bigger piece, peel-and-stick wallpaper rolls run about $20 to $30 at Walmart or Target, and one roll cut to fit gives several panels. Time: 15 minutes. Skill: none.
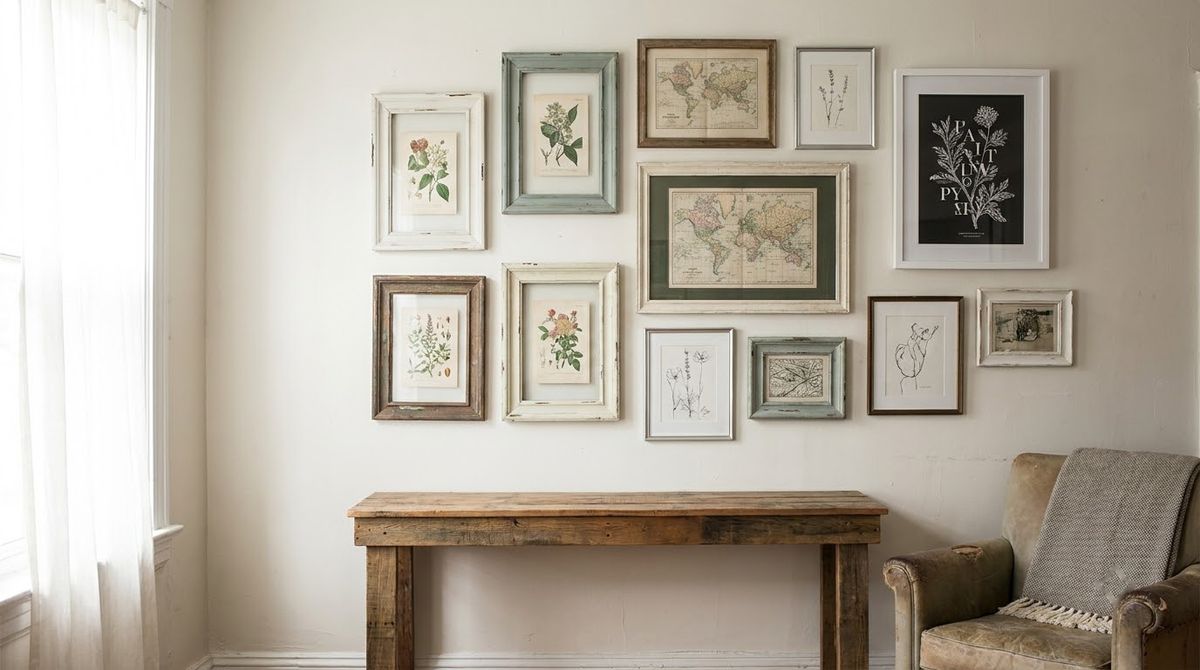
5. Gallery Wall of Thrifted Frames in One Color
Mismatched thrift frames look planned when every frame is the same color. Buy a few frames in similar sizes, remove the glass, and spray the frames matte black or white outdoors. New frames set the price bar: Walmart lists Mainstays 11×14 frames from about $4.46, and Target’s Room Essentials frames run about $4 to $6. Fill them with printables. Time: 1 hour plus drying. Skill: easy. Our gallery wall ideas guide covers layouts.
Fabric and Paper Ideas
Fabric and paper cost almost nothing and bring texture that a flat print lacks. All of these hang from a single hook.
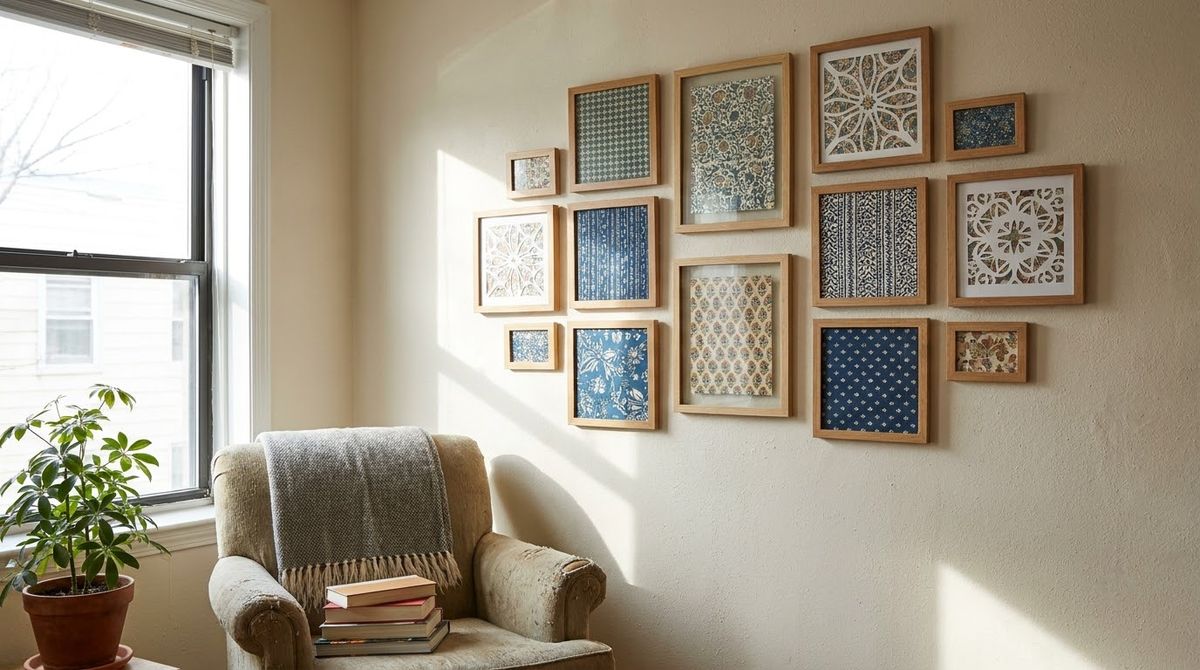
6. Scarf or Fabric in a Frame
Iron a patterned scarf, fat quarter or leftover curtain fabric, then center it behind a mat in a frame you already own. A strong pattern at large scale works best: florals, stripes or a block print. The cost is the fabric (free from your closet, or a few dollars at a thrift store) plus a frame. Time: 15 minutes. Skill: none. This is the easiest idea in the list, and the one that looks most like store-bought art.
7. Embroidery Hoop Fabric Art
A wooden hoop is a ready-made round frame. Stretch fabric tight, tighten the screw, trim the extra on the back to about 1 inch and glue it down. Cluster three hoops in 4, 6 and 8 inch sizes for a small group. Walmart listings for hoop sets ran about $16 for 12 pieces, and fabric scraps are free. Time: 15 minutes. Skill: none. Hang each hoop from the screw head on a small adhesive hook.
8. Torn Book Page or Map Collage
Frame vintage book pages or a road map, torn into rough rectangles and layered on card stock with Mod Podge. Walmart lists an 8 oz Mod Podge matte at about $7.42. Thrift-store paperbacks and old atlases cost a dollar or two, and a damaged book you would throw away costs nothing. Use a neutral card color so the text becomes texture. Time: 45 minutes. Skill: easy.
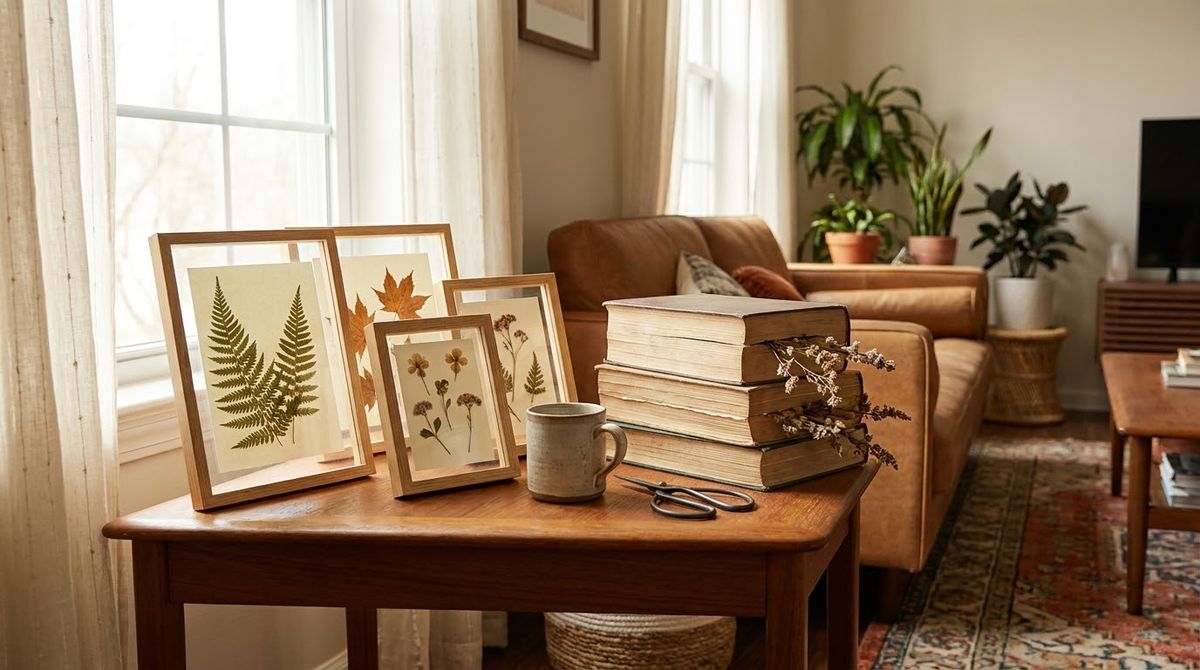
9. Pressed Botanicals
Press leaves, ferns or flowers between paper under heavy books, and mount them on card stock behind glass. It costs $0 if you gather your own, since you only need paper and books. Drying takes 1 to 2 weeks, so this is a slow project, not a hard one. Float the dried stems on white card with a thin frame, leaving space around them. Skill: easy. Avoid hanging it in direct sun, which fades color.
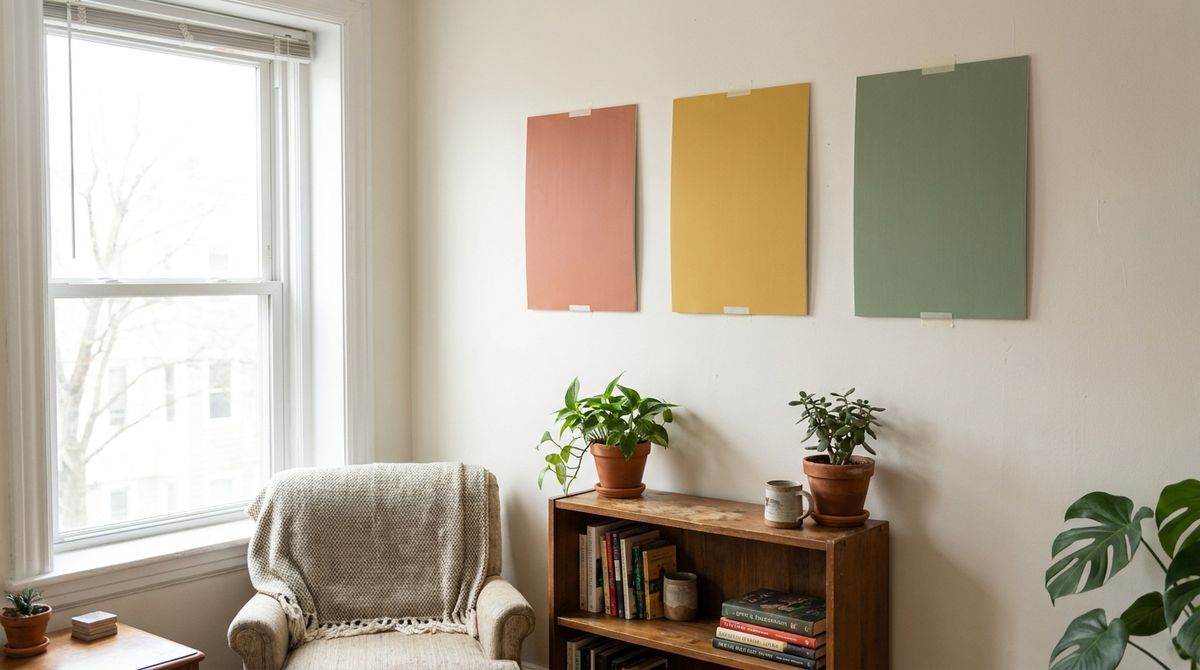
10. Paint-Chip Grid
Collect free paint chips in one color family, such as five blues from pale to deep, and mount them in a grid on a sheet of card in a frame. The gradient reads as modern art, and it costs $0 apart from the frame. Use 12 or 16 chips for a tidy grid and glue them at the corners with 1/4 inch gaps. Time: 30 minutes. Skill: none. Match the family to a color already in the room.
Paint and Tape Ideas
Paint gives you a one-of-a-kind piece in colors you choose. Keep the shapes simple: blocks, arches and washes need no drawing skill.
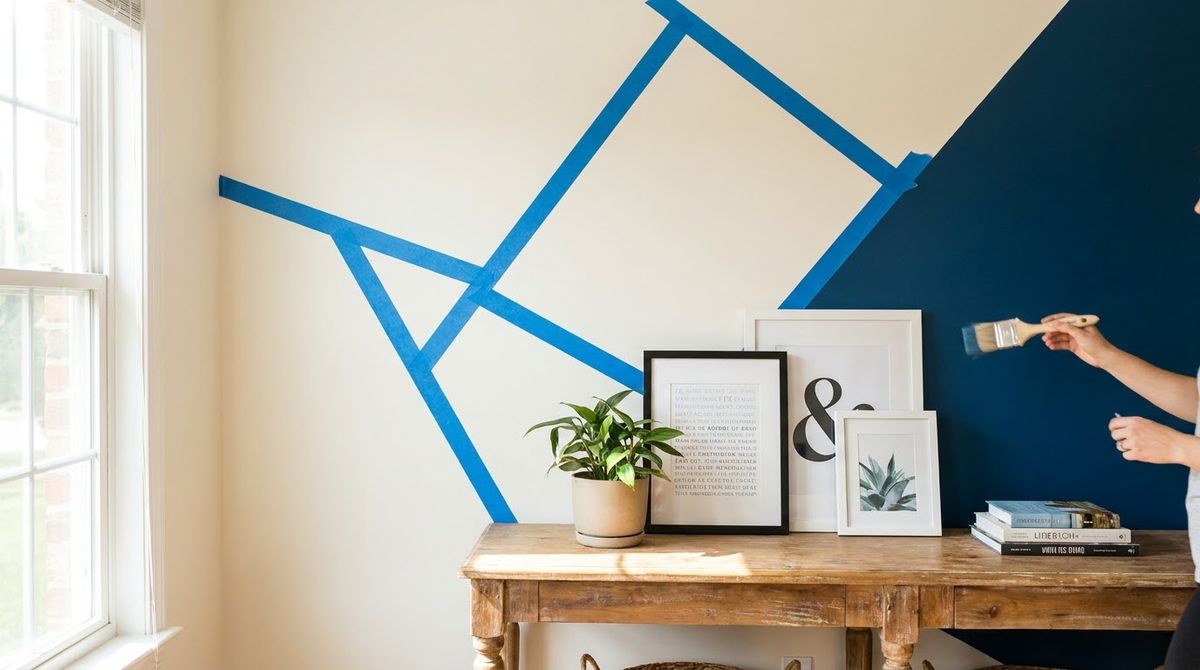
11. Painted Abstract Canvas
Paint two or three colors in soft shapes on a stretched canvas. Walmart listed a 7-pack of 11×14 inch stretched canvases at about $12.87, which works out to under $2 per canvas, and acrylic craft paint is a few dollars a bottle. Tape off a clean arch or horizon line for a crisp result. Seal it with a matte medium; craft acrylic dries with a plastic shine. Time: 1 hour. Skill: easy.
12. Painted Foam-Board Color Block
Foam board is light enough to hang with adhesive strips. A 20×30 inch sheet is around $3 at Walmart (a black 20×30 board listed at $2.97) and Staples lists one at $6.99. Paint a bold block of color and a thin stripe in a second shade, and mount it flush. Use two coats to hide the board’s color. Time: 45 minutes. Skill: easy. At about 20×30 inches it fills far more wall than a framed 8×10.
13. Washi Tape Shapes on the Wall
Washi tape peels off paint, so it makes a renter-safe mural. Run tape in a mountain line, a grid of arches or a large frame shape on the wall. A washi set costs about $9 to $15 at Target. Mark the shape lightly with a level and pencil first, then press the tape down firmly. Time: 30 minutes. Skill: none. Test a short strip in a hidden spot on fresh paint before committing.
14. Painted Plate Wall
Gather plain white plates from a thrift shop, paint the backs or fronts with ceramic or craft paint in a two color palette, then hang them with adhesive plate hangers. Prices at thrift stores vary by location, so set a cap per plate before you shop. Mix sizes between 7 and 11 inches and keep 2 inches between plates. Time: 40 minutes plus curing. Skill: none. Keep the group under 6 plates so the adhesive weight stays low.
Textured Builds
These take more time, but they create texture and shadow that flat art cannot. They suit empty walls above a bed, sofa or desk.
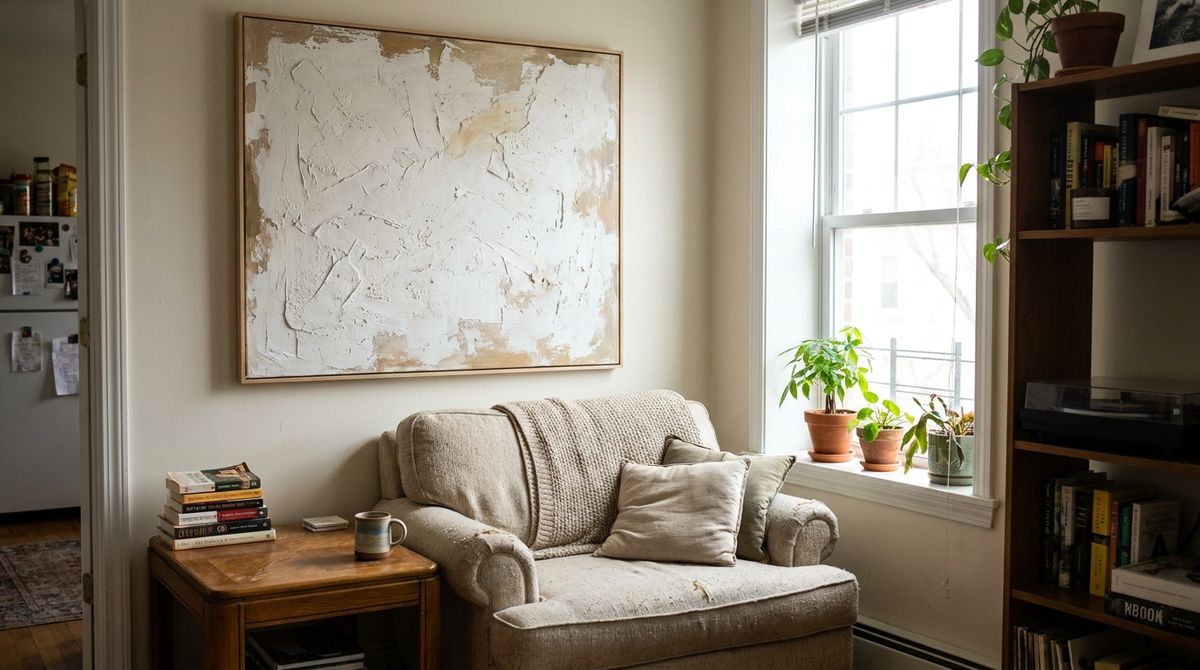
15. Woven Yarn Wall Hanging
Tie yarn strands to a dowel or branch with lark’s head knots, then trim the bottom in a V or straight line. Walmart prices ranged from about $5 for a 2 oz cotton skein to $8.59 for a 7 oz acrylic skein, and one skein is enough for a small hanging. Add a second color for stripes. Time: 2 hours. Skill: medium. Use thick yarn so the piece looks full instead of thin.
16. Wood Shim Sunburst
Wood shims are thin tapered wedges sold for construction, and fanned in a circle they look like a sunburst mirror frame. Home Depot listed a 12 inch contractor shim bundle (42 pieces) at about $6.46. Glue the shims in two rings around a round mirror or a plywood circle, then stain or leave natural. Time: 1.5 hours. Skill: medium. Sand the cut edges so the finish looks even.
17. String Art
Hammer nails into a scrap board in a shape such as a heart or a mountain ridge, then wrap thread or yarn between them. A 12×12 inch board with 30 to 40 nails is a good first size. Yarn is about $5 to $9 per skein at Walmart, and many people already own nails and a hammer. Time: 2 hours. Skill: medium. Plan the shape on paper first, then tape the paper to the board and nail through it.
18. Dowel Poster Hanger
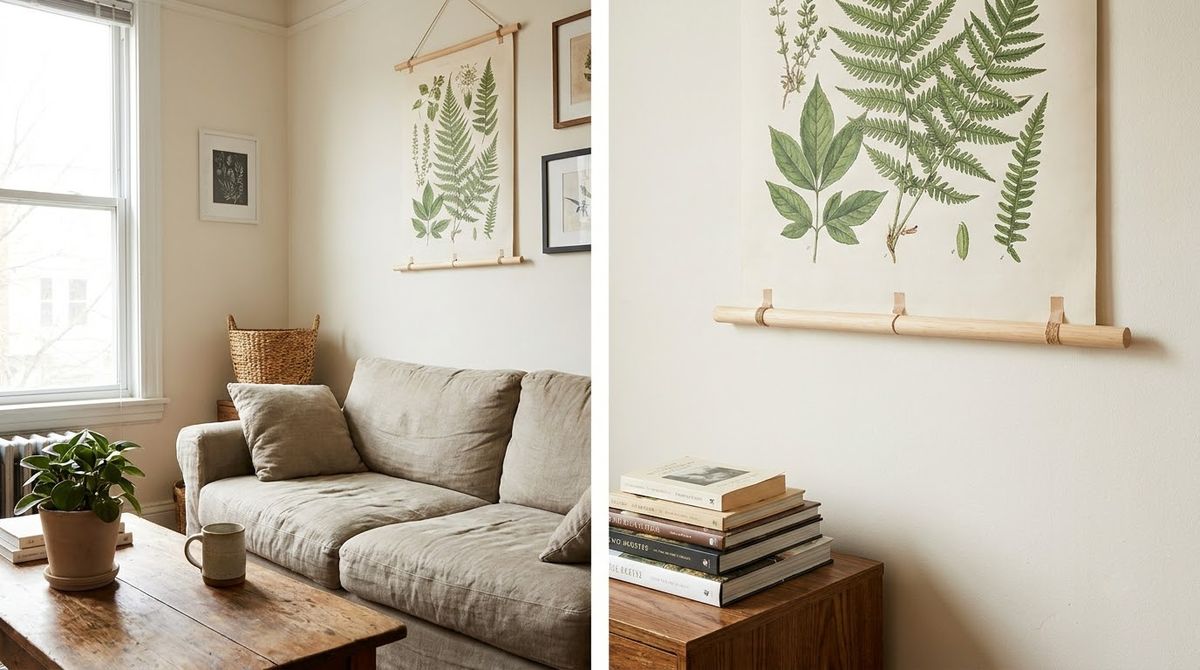
Frame-free posters look best on two thin wooden dowels, one at the top and one at the bottom, with the print glued or taped between. Dowels come from any hardware or craft store, and you can add a cord to hang it. It replaces a frame, so a 24×36 engineering print becomes a hanging scroll. Time: 20 minutes. Skill: easy. A single adhesive hook holds it.
How to Hang DIY Pieces Without Damage
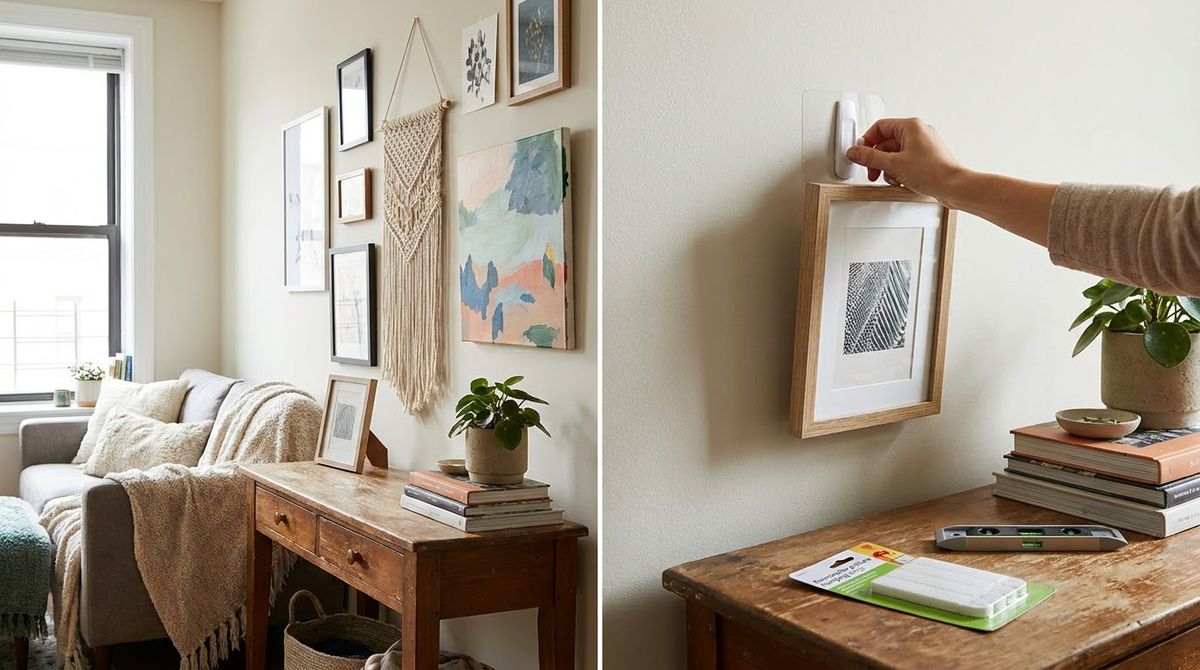
Choose the hanger by weight. Command’s large picture hanging strips at Target are $3.99 for four pairs and hold up to 15 pounds on frames up to 24×36 inches, and the page says to stretch each strip at least 12 inches to release it. A review of Command strips lists older, lower ratings (1, 3 and 4 pounds by size), so always read the weight on the package you buy. Command strips need a smooth surface and will not hold on textured walls.
| Piece | Weight guide | Hang with |
|---|---|---|
| Paper print on foam board | under 1 lb | washi tape or poster strips |
| Fabric or hoop art | under 2 lb | one adhesive hook |
| Framed print with glass | 3 to 10 lb | picture hanging strips |
| Plate or shim sunburst | 2 to 5 lb | check pack rating |
For heights and spacing, use our guide on how to hang wall art. For scale on a big wall, see large wall decor ideas and empty wall ideas.
Frequently Asked Questions
How do you make cheap wall art?
Start with a free printable or your own photos, print them at a copy shop, and frame them with a mat. Fabric in a frame, a paint-chip grid and pressed leaves cost close to $0. Most of the 18 ideas above cost under $20 and take an hour or less.
What can I use for large wall art on a budget?
Use an engineering print on foam board or a painted foam-board color block. A 24×36 inch print is one of the cheapest large-format options, and a 20×30 inch foam board is around $3. Fabric stretched over a board is a third large, low-cost route.
How do you make cheap DIY art look expensive?
Use one frame finish, add a wide mat, limit the palette to two or three colors and scale the piece to about two-thirds the width of the furniture below. Matte finishes read as higher quality than glossy ones, so seal paint with a matte medium.
What is the easiest DIY wall art for beginners?
Fabric in a frame is the easiest. Iron a scarf or fabric scrap, center it behind a mat and hang it. It takes about 15 minutes and needs no drawing. A framed wallpaper sample and a paint-chip grid are just as simple.
Is DIY wall art cheaper than buying it?
For large pieces, usually yes, because retail framing is the main cost and a foam-board or paper print avoids it. For small pieces the gap is smaller, since a basic store frame is already about $4 to $6. Free materials make the biggest difference.
Do you have to seal DIY canvas or paper art?
Painted canvas looks better with a matte sealer because craft acrylic dries with a shine. Mod Podge matte is one option. Paper prints do not need sealing, but glass or a frame protects them from dust, moisture and fading.
Pick One and Start
Pick one oversized piece first, then add a small group if the wall still looks bare. A wall that is one third full of one large print looks planned, and a pile of small crafts does not. For more budget fills, see wall decor on a budget, then plan clusters with living room wall decor ideas.
Prices checked October 2026.